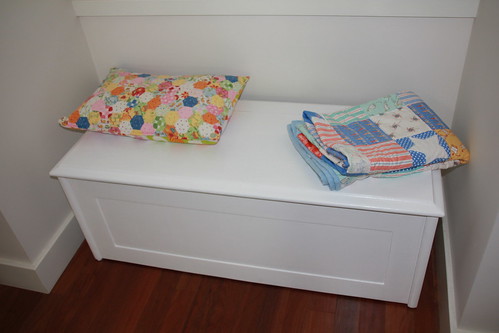
Finished Blanket Box
Well it is already Tuesday and I haven't posted this week. Easter was a busy time doing stuff with my husband and children but I was also working on a few projects as well. The first of these to share is the finished blanket box.
Remember what it looked like before
here?
Well it took quite a lot of sanding to get the surface ready for paint.
I used the electric sander with some pretty heavy duty sand paper, it doesn't say what grit that yellow paper is but it is coarse. Then I used a finer paper all over it. Then when I was happy I primed and painted it with white semi gloss.
I use a small roller. It goes on a lot faster and also more evenly.
I left two strips at the sides under the lid paint free. I just liked the shabby chic look of it! You can only see it when the lid is up. You can sort of see it in the picture below.
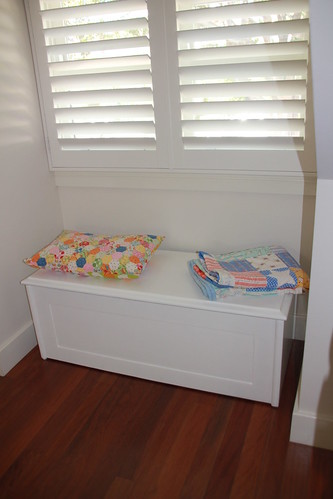
It fits fabulously in that little space under the dormer window in my sons room. It always has a gap when closed so even if a child climbed in they would be able to breath and it doesn't fasten shut either. So I don't mind having it in there. Mind you it will be rammed with stuff so no child will fit in it, no matter how much they want to hide in there!
So that was what I was doing for some of the Easter weekend. I certainly wasn't eating lots and lots of Easter eggs.....


That is a fantastic job you did there. I've seen a vintage style of blanket box I would just LOVE to somehow reproduce (read never, or *buy*)... it is also white or off-white but had the padded, diamond pattern top with small button/studs and the classic mid century style splayed legs underneath with the directional bases. LOVED! #teamIBOT
ReplyDeleteAnother beautiful finish. I'm sure you will get a lot of use out of it.
ReplyDeletewhat a fantastic blanket box! the refinishing job looks great! :)
ReplyDeleteHow beautiful, I love seeing all the pieces you work on! Thanks for sharing.
ReplyDeleteFreemotion by the River Linky Party Tuesday
Finished product looks great! I wonder how hard it would be to attach a pillow to the top so you could sit on it to read. I've always wanted one of those :)
ReplyDeleteLove this! So cute and clean looking! Would love it if you would link this up to Give Me The Goods Monday: 1 Party, 5 Blogs! http://www.rainonatinroof.com/2013/04/give-me-goods-monday-linky-party-2.html
ReplyDeleteJenna @ Rain on a Tin Roof
Looks beautiful! I love to paint furnitures!
ReplyDelete