Wednesday 25 December 2013
Seasons Greetings!
Now it is Christmas day and the presents have been opened and mostly played with and the best presents this year voted by child A and child B? Bucket of slime of course!
We have enjoyed our Christmas dinner and I for one enjoyed a nice nap.
It is raining here in Sydney but that is perfect because we can stay in and not feel bad about it.
I wish you many blessings and a safe and peaceful Christmas wherever you are.
I wonder if 2014 will be a more creative year with more homemade stuff than 2013?? See you then! x
Friday 20 December 2013
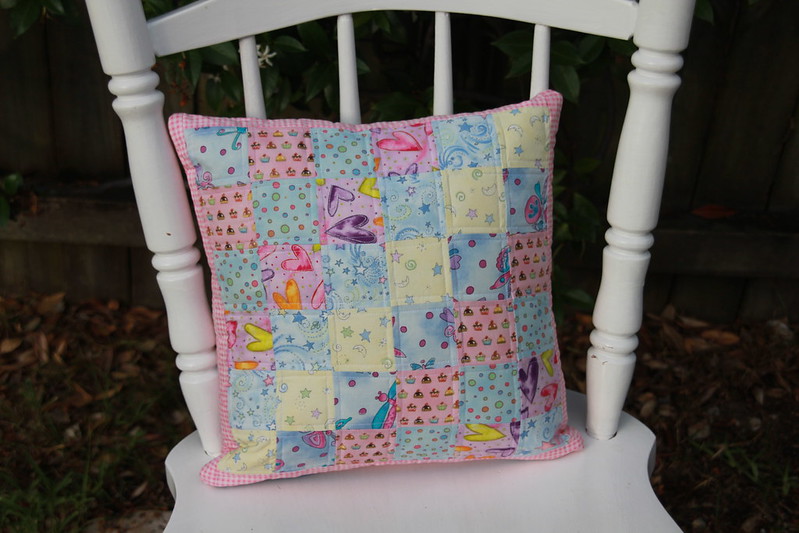
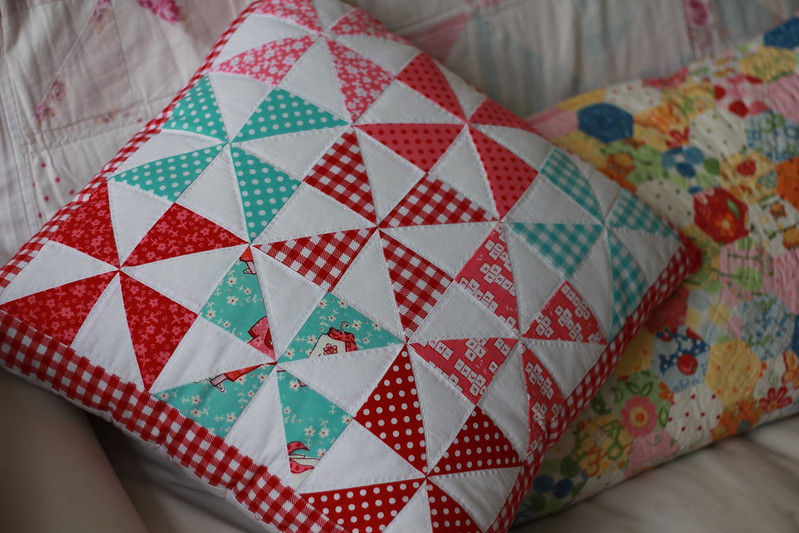
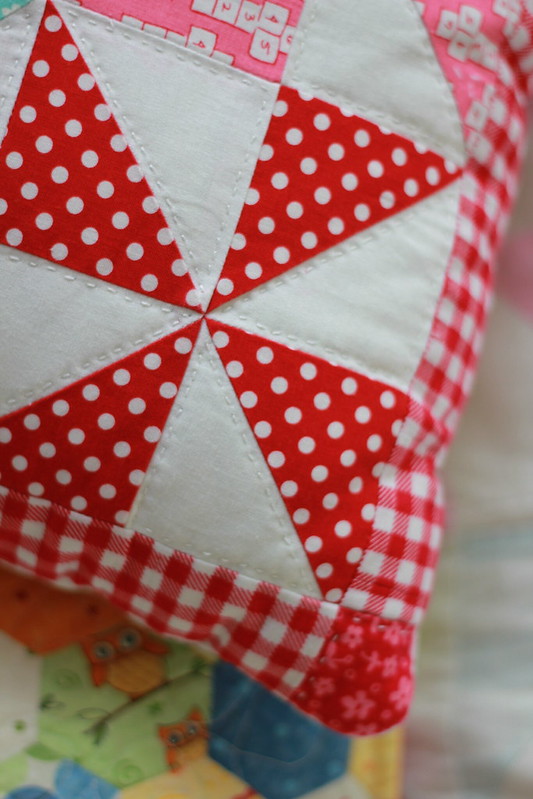
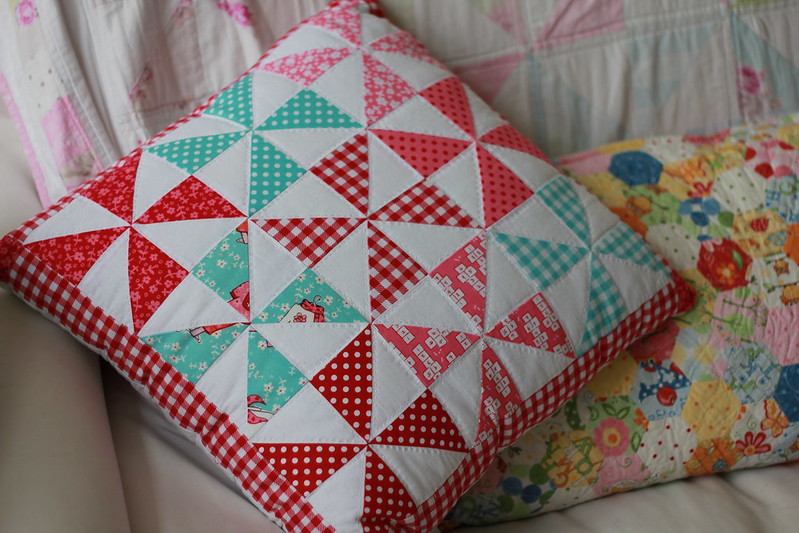
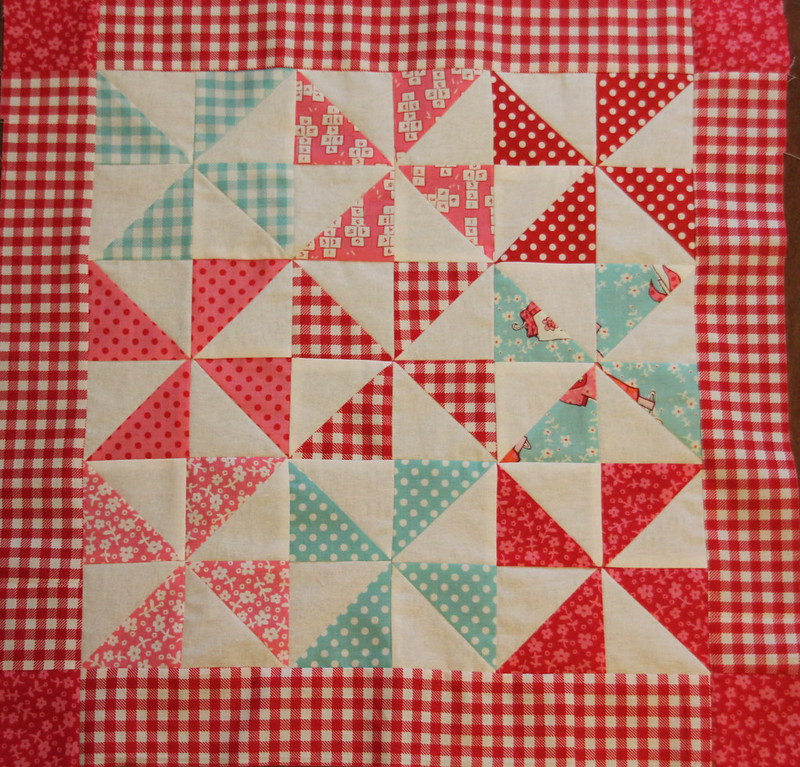
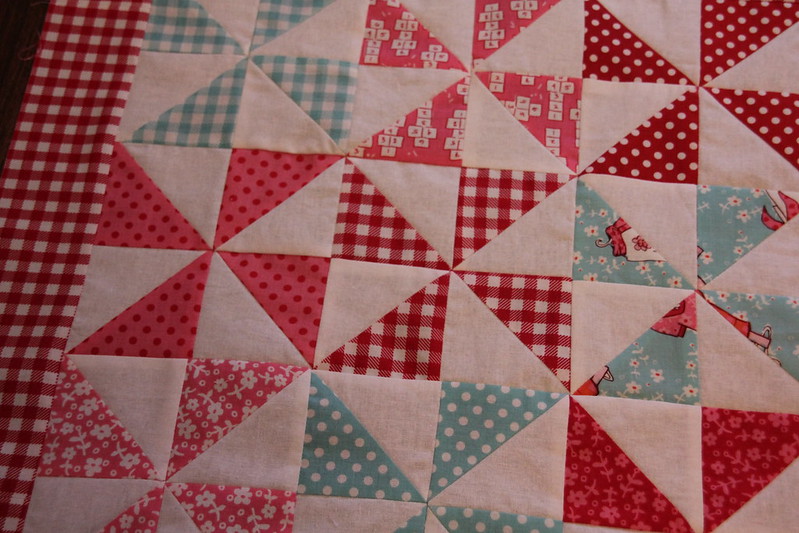
Finished Cushion on Friday
This cushion is for a friend who is moving back to the UK. I haven't given it to her yet but it is ok, she never reads my blog so there is no way she will see it :)
The friend it is for has a daughter with a name that starts with a J, so I hope it goes on her bed and my friend sees it and is reminded of her year in Sydney often. I hope it is kept a very long time.
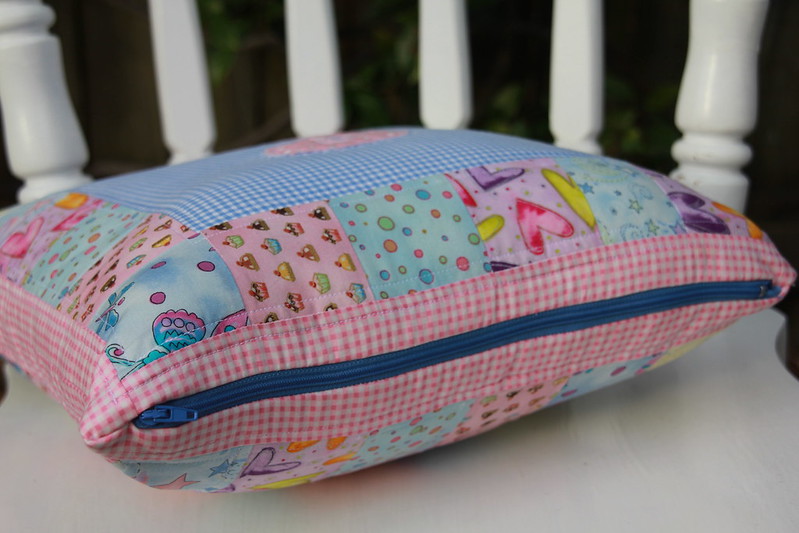
The closure is a zip. I think this is the best thing to use but you need one to hand.
I love this little cushion and I hope it is treasured by the recipients.
Have a wonderful Christmas!
xxxx
Monday 16 December 2013
Another Great Street Find
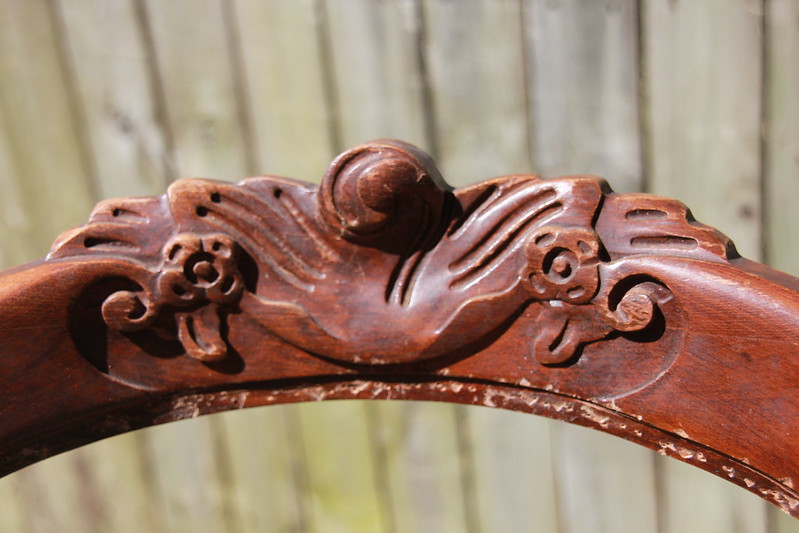
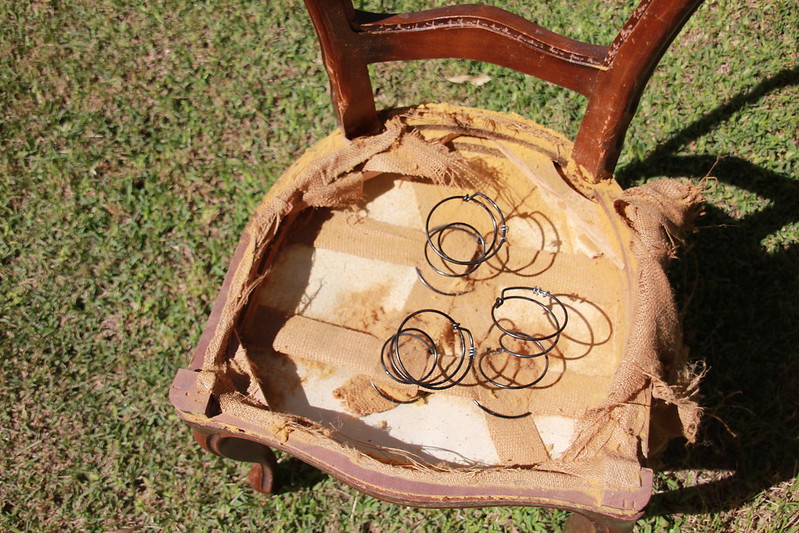
I just loved the shape of them and everything about them except the state of the upholstery. When I saw them I had just driven by quite fast and seen one of them. I thought about it for a few seconds - I was on my way somewhere and needed to hurry, and maybe I could go back that way and pick them up on the way back? Would they still be there..... hmmm. I turned the car around and salvaged them - better safe than sorry!
I am so glad I did!
I would call them french provincial chairs, or maybe shabby chic chairs?!
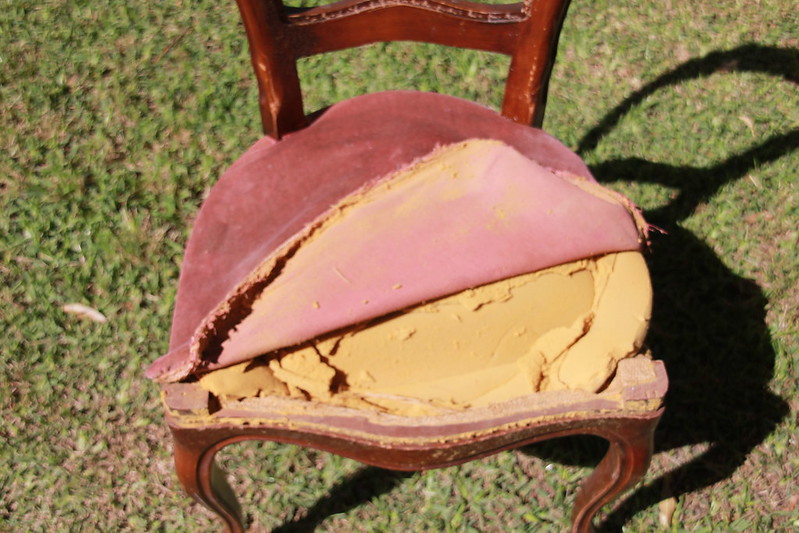
Somebody had already made a rather halfhearted attempt to start to reupholster the back of one using the navy blue brocade, but that came off and went in the bin.
Then I really went to work taking all the old stuff off and getting back to basics.
The foam was completely perished and awful. Both chairs had 3 springs. I am not sure if this is enough? Both chairs only had 5 pieces of webbing which I think is woefully inadequate. On the one above one piece of webbing had broken. The webbing needs to cover the entire seat area but not overlap. It wasn't even woven either. So I have ordered new webbing and it has arrived. But first I will sand and paint the wood. I want the chairs white. I like these ones:
And these ones;
Here are mine all stripped down, every staple has been removed and I will start sanding them... when I get a minute. Making these amazing will be a labour of love.
Merry Christmas all and I hope you all find what you need, be it by the side of the road, or elsewhere!!
Love
Marianne xxxxx
Friday 13 December 2013
Christmas Stockings
The Christmas decorations came out the other day. The tree was standing there naked for a few days when I lost all motivation. It is now done and looks great and the kids love it of course.
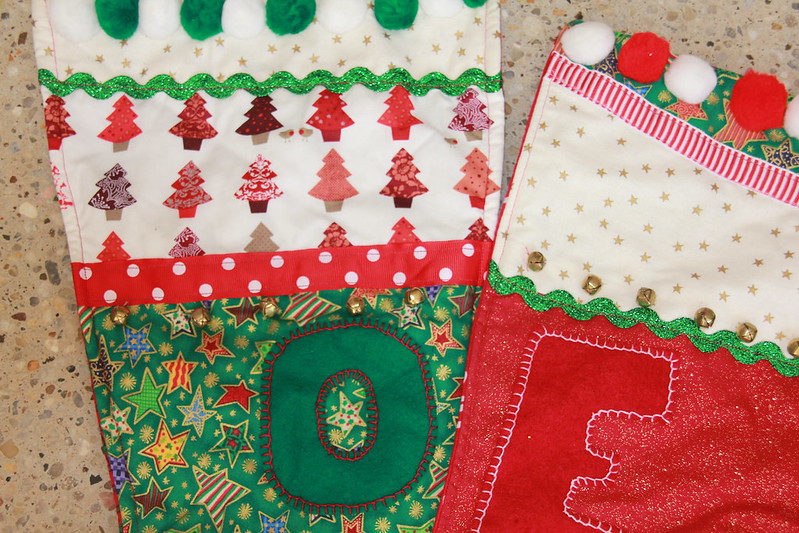
With the decorations came the stockings I made.
I got the idea for these from a show with Kirstie Allsop who I love. She made some like this but much more muted colours I think. I do love her programmes on UK Channel 4 on craft and repurposing and lots of things close to my heart.
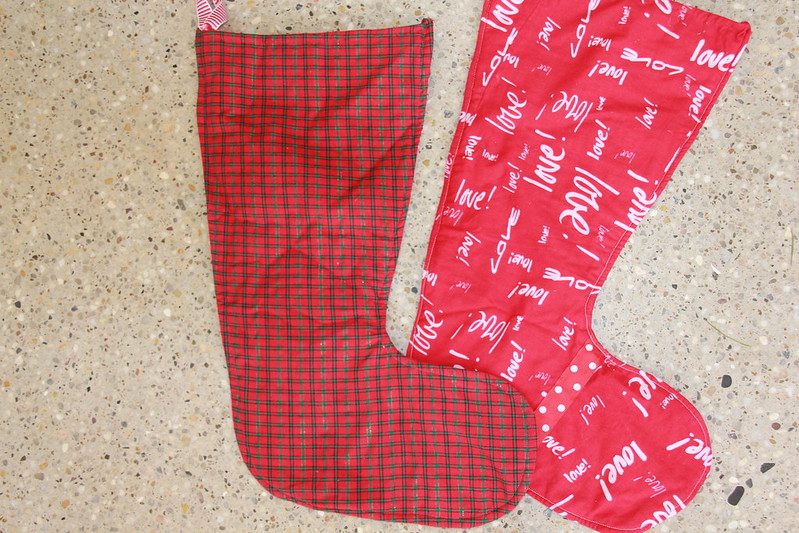
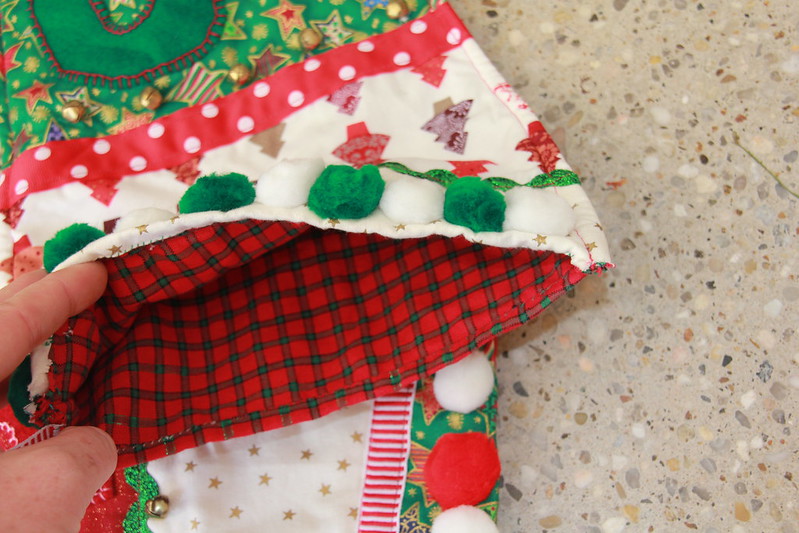
To make the stockings I took lining and batting of the stocking shape and made the front sort of by quilt as you go, placing on the pieces and the trim and sewing it together until I had a quilted stocking shape with lining on the other side. Then I took another two more pieces of fabric, one lining and one the back and sewed them to the front right sides together. I turned it the right way out and sewed around the edge to make it nice and flat. Then I bound the top raw edge.
After all that I appliqued on the letters by hand and then sewed on the bells and pom poms.
Oops, I cut one of the stocking backs on the wrong side and had to do a horrible seam. I only had that piece of fabric and I really wanted to use it for this.
Lastly I sewed on the loops to hang them in the lovely candy stripe ribbon. I like that I used up a lot of little bits of ribbon and trim with these.
And now all that is left is for these to be hung up on Christmas eve so Santa can visit us!
Seasons Greetings all xxxx
Friday 29 November 2013
Pinwheels Cushion
I started it a long time ago here.
It looked like this.
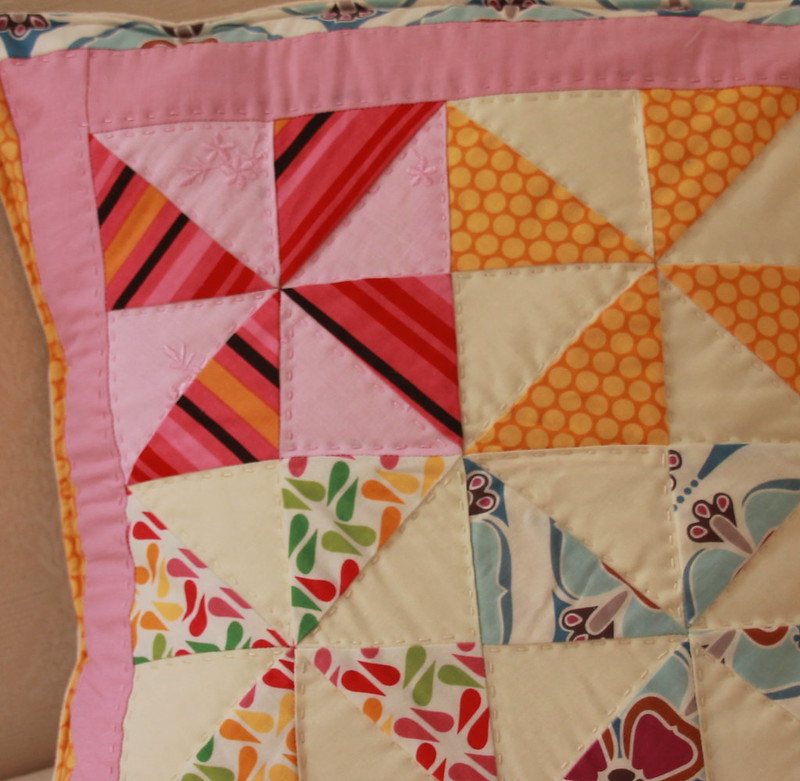
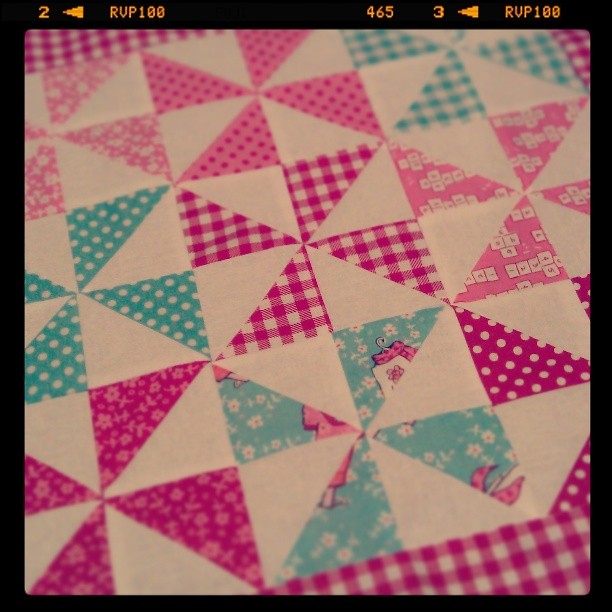
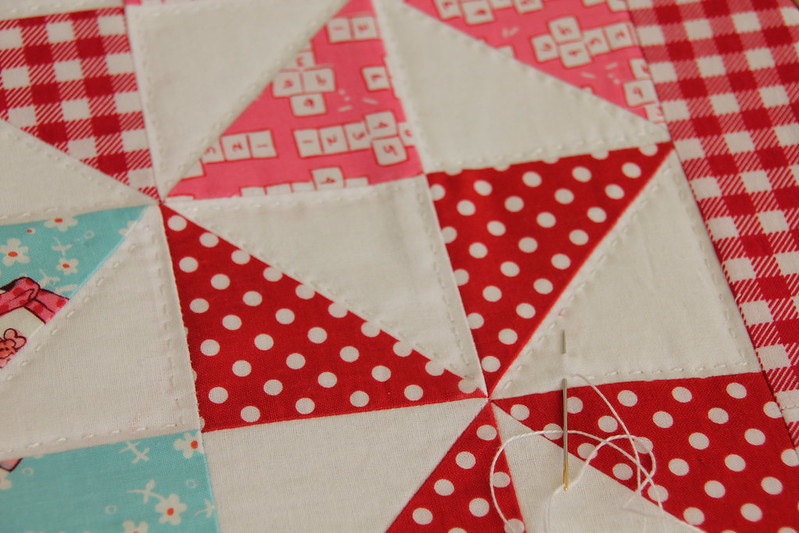
I hand quilted on the snow triangles with cream embroidery thread and on the pale pink triangles I quilted in pink thread. Each pinwheel is 6" so I started each one with two coloured squares of 4" and two cream or pale pink squares of 4".
I made an envelope closure for the back and I find it never gives a very square cushion! I am not too keen on them and I think a zip is far better, but you have to have one when you need it which I rarely do. The back is just plain cream fabric, upholstery weight.
I love pinwheels!
Friday 22 November 2013
Pillow Talk
I am SO pleased with this one. I love the colours and the white. I have hand quilted both sides.
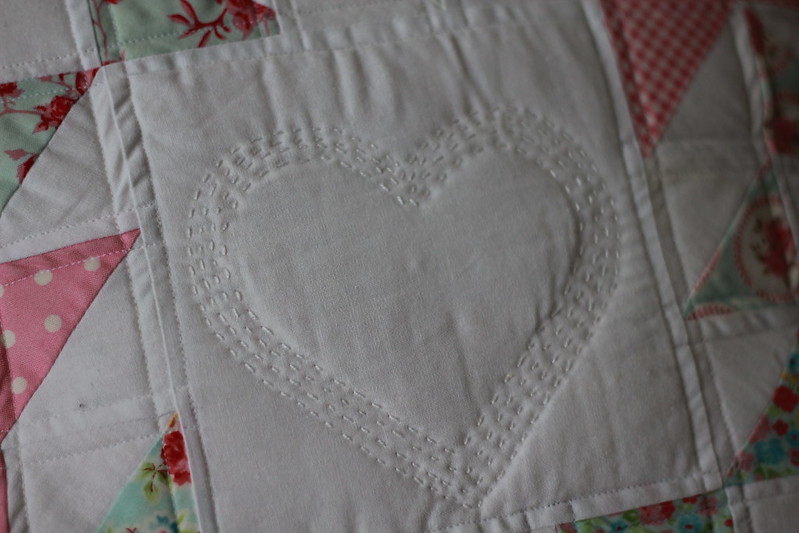
On the round and round side it is mostly machine quilted but I hand quilted a heart on it.
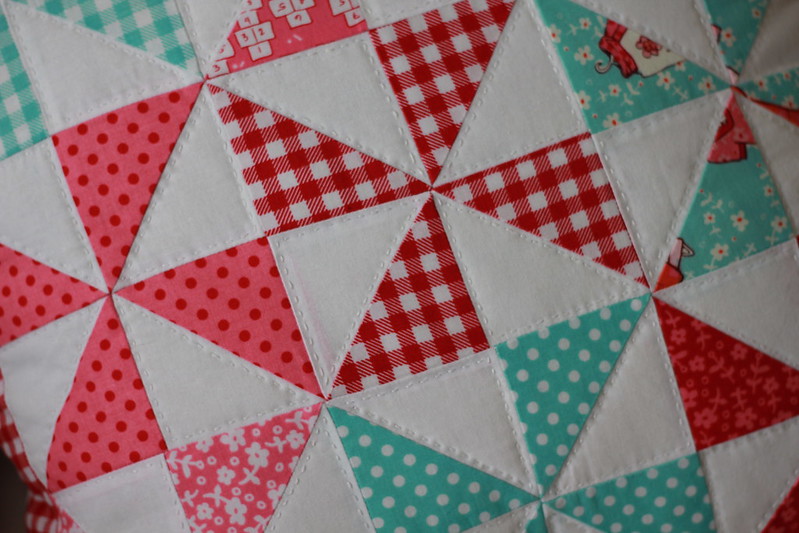
I hand quilted around the white triangles. It does take longer but with a little project like this it is doable and worth it.
I also hand quilted on the corner stones.
I am so pleased with it and think it is one of the best things I have made. I love the pinwheel side. I want to do more sewing with bright colours. The cushion cover has a zip closure which I like as I think it gives a more square cushion compared to an envelope back. At least it does compared to my envelope backs!
Friday 15 November 2013
The other side...
I have been working on it this week. As I am doing hand quilting it is taking a little longer, but I will have it down soon.
I LOVE this little block!
I think my border is going to be a little thicker and the corner stones are different. The fabric is Sarah Jane, Children at Play.
Even my hand quilting is the same as Amy's! Do I have a mind of my own?????
I just adore pinwheels and I am pretty pleased with my points and the joining up of these.
The pinwheels are 5" finished and I started with two white squares and two coloured squares. The squares were 3.5" square and I cut them down after sewing them to the correct size.
Next week - a finished cushion!
Friday 8 November 2013
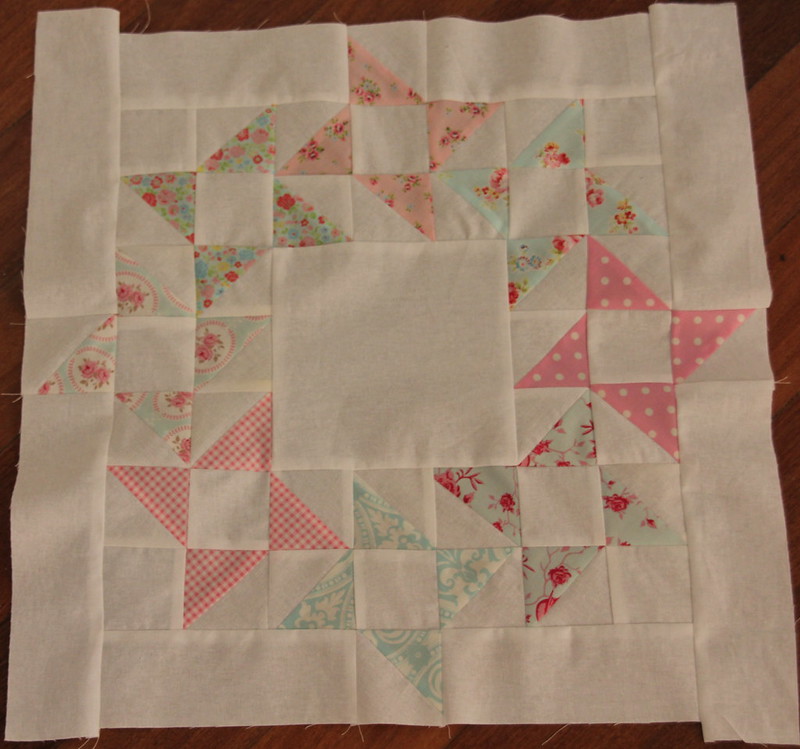
Mini Quilt or Cushion Cover?
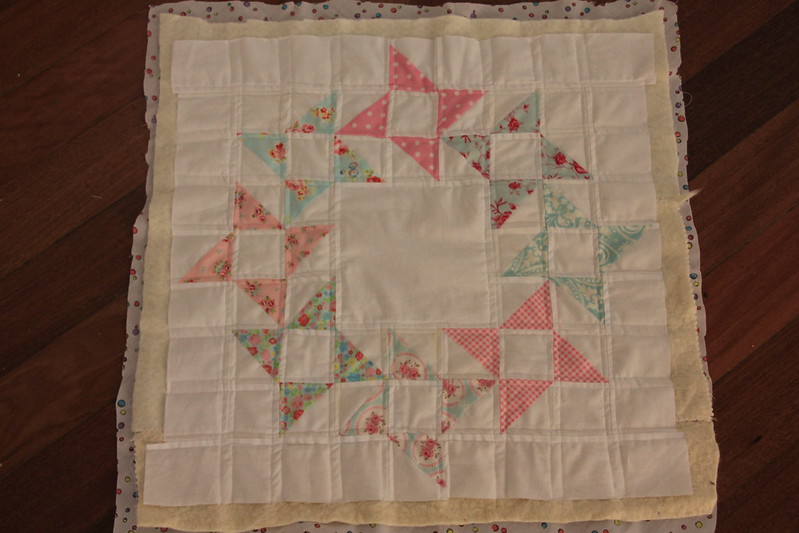
I quilted it 0.25" from most of the seams but I also want to do some hand quilting in the centre.
To make a finished block 18" x 18" you need:
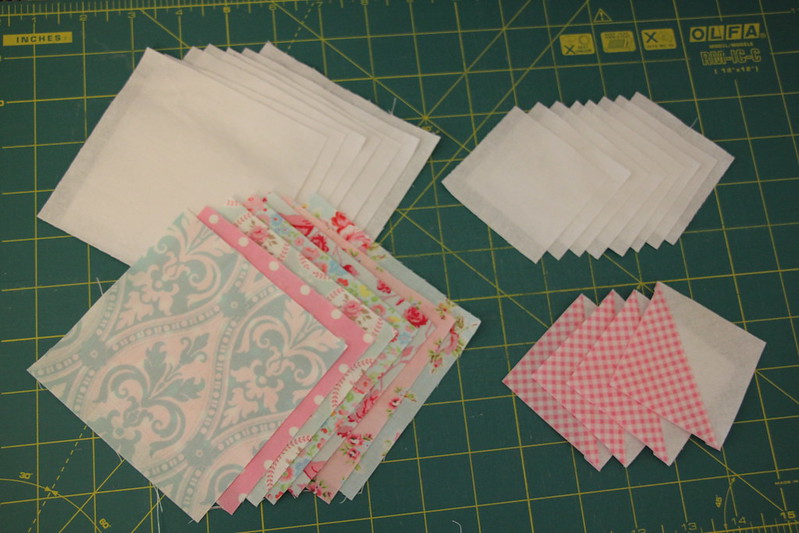
8 coloured squares 4.25" x 4.25"
8 white squares 4.25" x 4.25"
12 white squares 2.5" x 2.5"
1 white square 6.5"
4 white strips 2.5" x 8.5"
4 white strips 2.5" x 6.5"
Here are some of the pieces before I started.
To make the half square triangles there are a couple of different ways.
One way is to take two of the 4.25" x 4.25" squares, one white, one coloured and lay them right sides together.
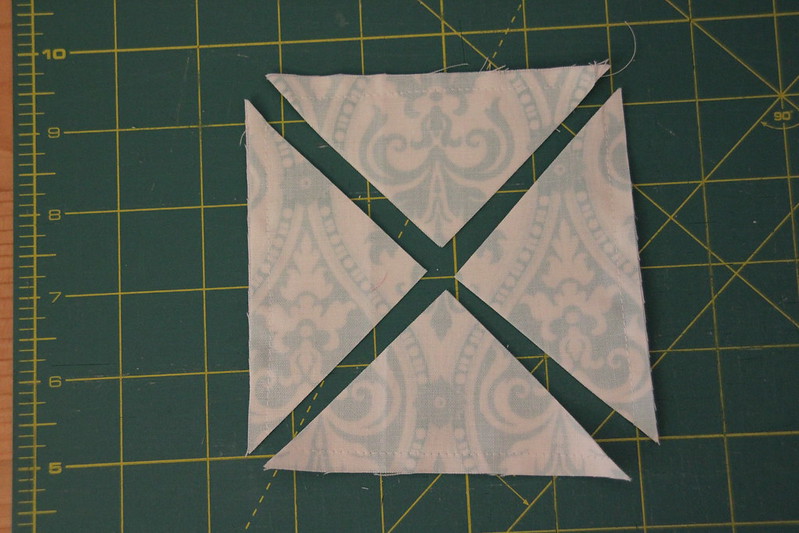
Sew around all 4 sides 0.25" from the egde. Then cut through the centre corner to corner twice as shown below.
The difference between this method and the more usual method of taking two squares right sides together and drawing a line from one corner to the other and then sewing 0.25" from this line on both sides of it and cutting down the line is, that the bias angles will be different. In the method I show here, the stretch will be along the sides of the square and least from corner to corner. Using the method of sewing corner to corner you get the stretch from corner to corner of your half square triangle. Which is easier and stretches the least I don't know.
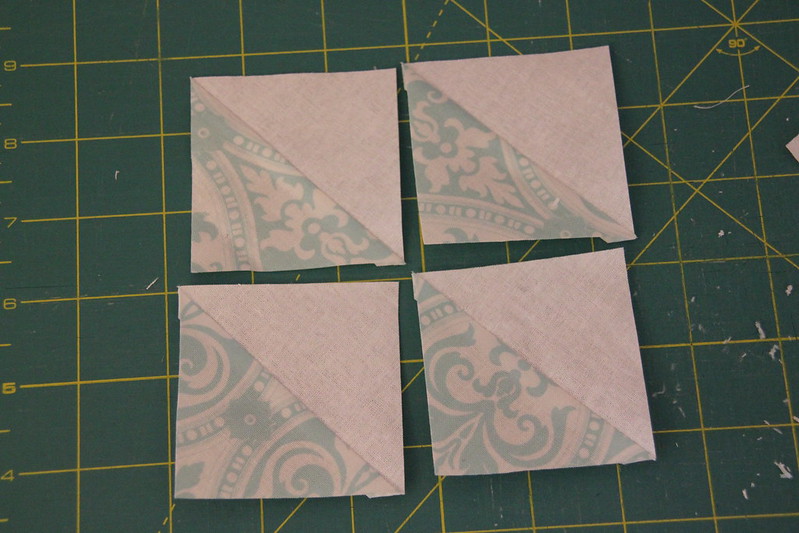
Then trim them to 2.5" x 2.5".
Once you have your 8 sets of four half square triangles you can lay out your design and sew it together.
and quilted.
I really like it and once it is made into something I will take some better photos. I think I will make a pillow out of it and piece the other side as well.
I really must try some other design of quilting someday!
Happy Friday! xxxxx
Edit - I have since found out thanks to the comments below that this design is Round and Round from Thimble Blossoms by Camille Roskelley
Thursday 7 November 2013
Repurposing to make Bedside Tables
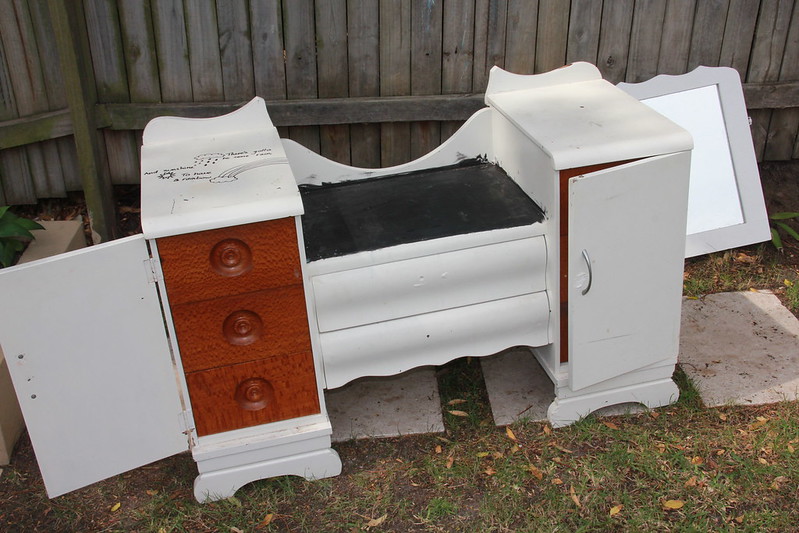
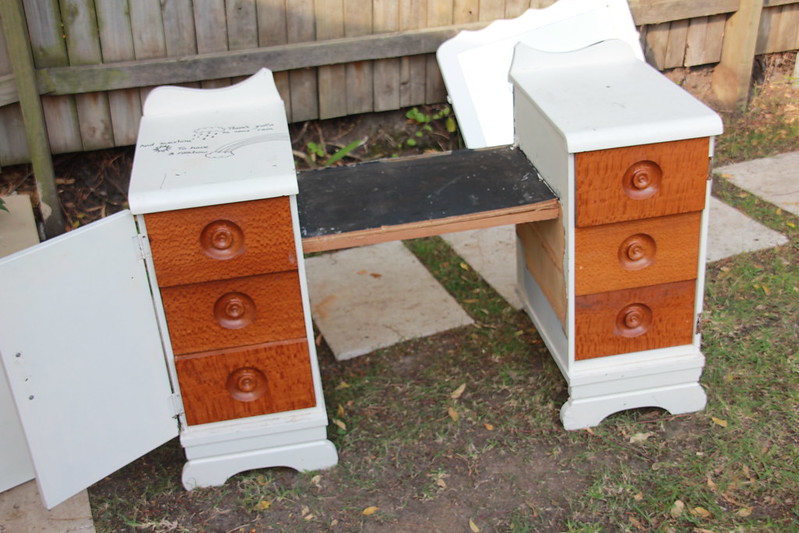
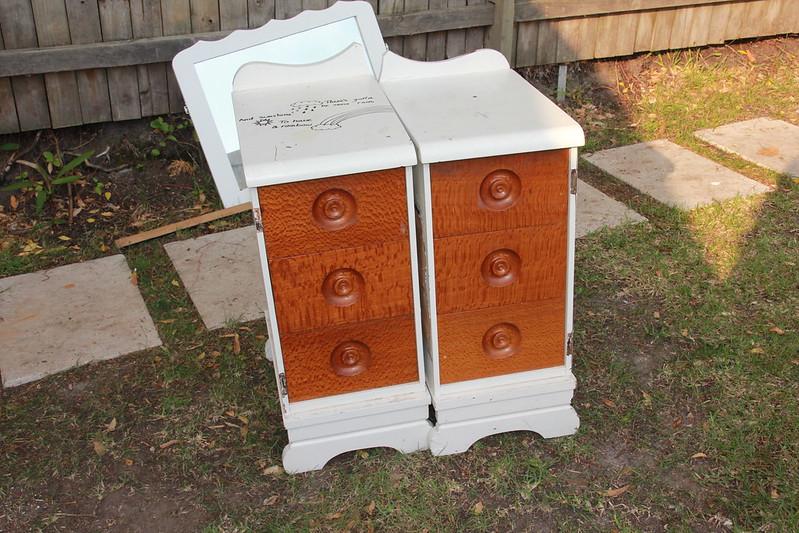
I saw on Kirstie's Vintage Home (channel 4 on UK TV) with Kirstie Allsopp an idea that really caught my imagination. They gave hardly any details about it but showed a quick before and after making two bedside tables from one vintage dressing table. Every now and then, when I remembered I looked on ebay for an old dressing table but although they were on there, they were very often $250 or more. Totally unacceptable prices obviously. Finally one came up on freecycle and I grabbed it!
It was written on and had chalk board paint on it but it was free! I was going to paint it anyway.
The mirror came with it but wasn't attached. I don't see how it would be attached but I will use it for something else.
I took the two middle drawers away and got the runners off and was left with this:
I also took the cupboard doors off. I wasn't going to need these. The drawers are set about 10mm back and so I will put a piece of wood behind them so they close flush to the sides of the cabinets.
You can see how the drawers go in too far above. By the way, the dressing table is all made from plywood except the actual drawers, so it is not the solid wood I would ideally have liked. I still think it is cute though.
Finally there was one piece of wood left which ran throught he back of both sets of drawers, so this had to be cut.
I only used two tools to do it all. One was the claw hammer shown - such a useful tool. The other was a saw.
And finally I have two bedside tables. They still need some work. They need a 4th leg as otherwise they will fall over, or at least be very, VERY unstable. The drawers need to be made not to go back so far, and they need sanding, filling and painting. Those horrible brown drawers will not be brown forever. I will show you when I have finished! Bye!
Friday 25 October 2013
Sew Something for Halloween
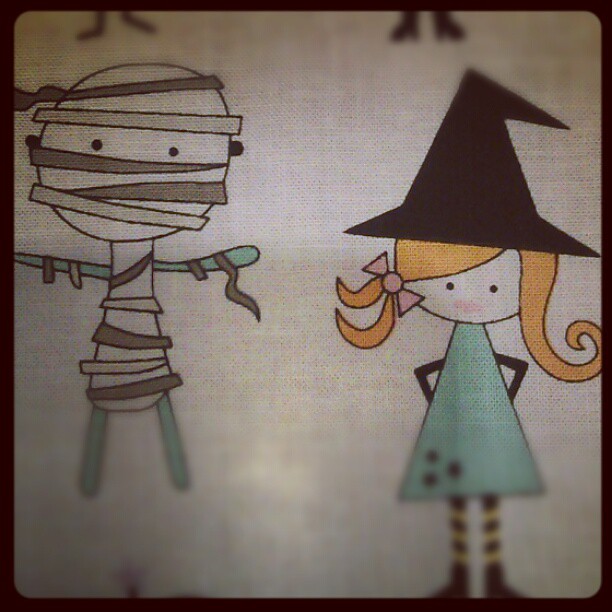
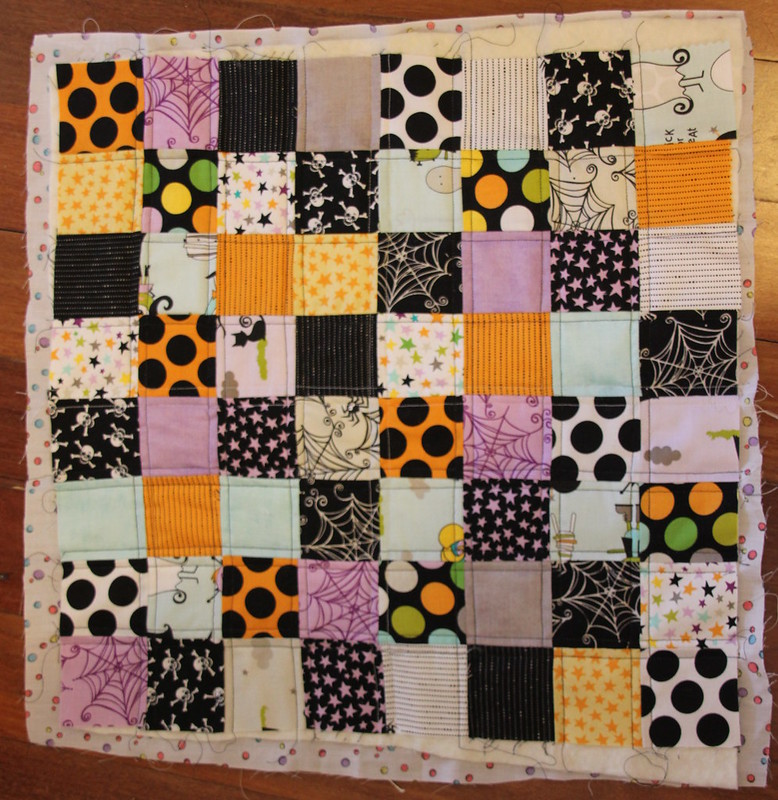
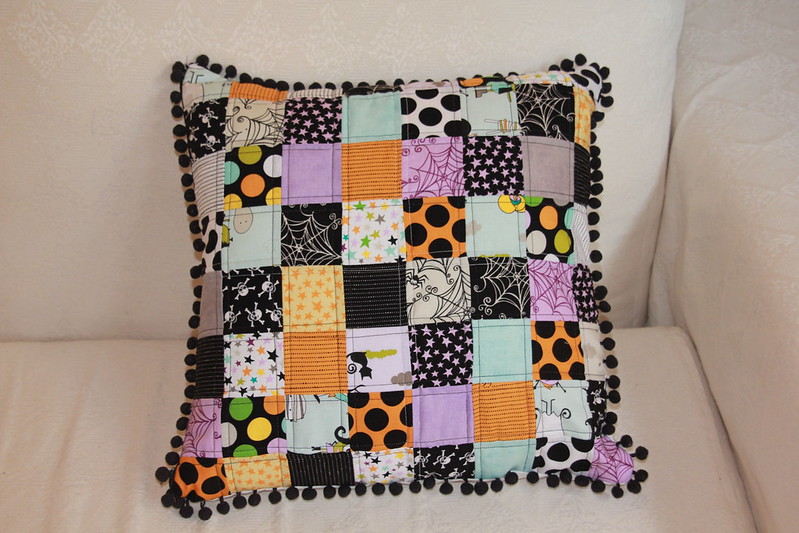
I planned to use this to make a couple of treat bags for trick or treating, but then I completely forgot and bought two new treat bags last week! This was probably a good idea as making bags was unlikely to happen in the time frame involved. I decided to use the fabric before Halloween and decided to make a cushion!
I love the multi coloured stars best, and the mummys. But once I had cut the charm squares up I had no whole mummys, or witches or monsters or the cuter characters in this cushion. The colours are not what I would usually use but I really love it and maybe one day I will do modern quilting! I think this is modern quilting.... But it is a pretty simple version I guess.
I had some black pom poms for trim and they were pretty tricky to use but so worth it - I love them.
In other news, last week I spent a lot of time making a teepee. I basically have it sewn together and I am happy with the shape. The six sides are all straight sided triangles and if the poles are set up right it isn't too saggy. Now I am waiting for P daddy to do the woodwork bit and fix the poles together at the top so they stay tied at the same height each time, and find some way of securing the bottoms of the poles so the sides stay straight. Am I asking for too much? I just don't want a saggy teepee! Once all that is done I can finish the teepee but heming it top and bottom, and setting it up in the boy's bedroom. I want to use more denim to bind the top and bottom of the teepee.
Here it is! I have denim around the doorway which I love. It needs some finishing and tidying up but I am really pleased with it. Most of it is made with a pair of old ikea tab top curtains which we used for a few years and I have kept for 6 or 7 years for... making a teepee!
It has 6 sides and the poles are 19mm hard wood. We could not buy cheap wooden poles here! I didn't want plastic. I wanted 26mm (~1") but settled for 19mm (~3/4") which is fine as they are not bendy. The poles are 2.4m long and will be cut down a little. I will make a round or hexagonal floor (quilt) to be used inside it. My son keeps asking if he can sleep in it which is so cute. He is so nice about everything I make for him. I hope it continues. The cushion is really for him to use in the teepee as he likes to have cushions, pillows and quilts in there to make it cosy.
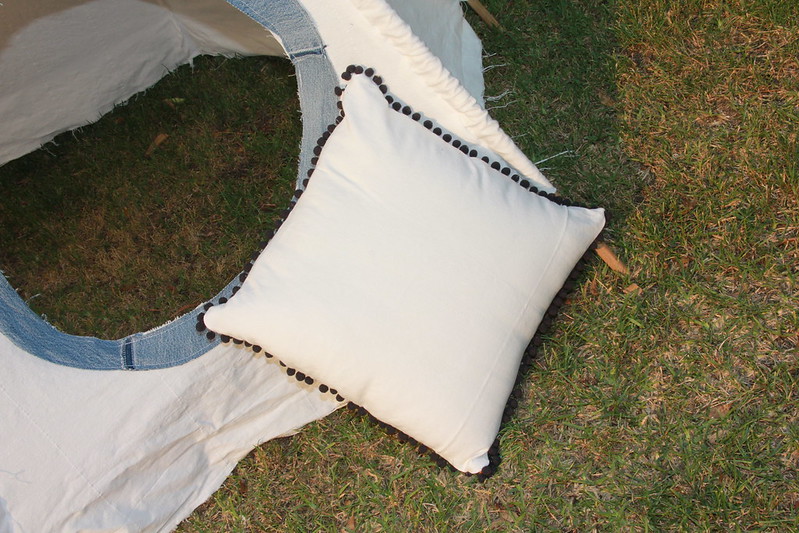
and the back is white, and part of another ikea tab top curtain.
The cushion closure is a zip.
More on the teepee when it is finished.
Friday 18 October 2013
Canvas Art
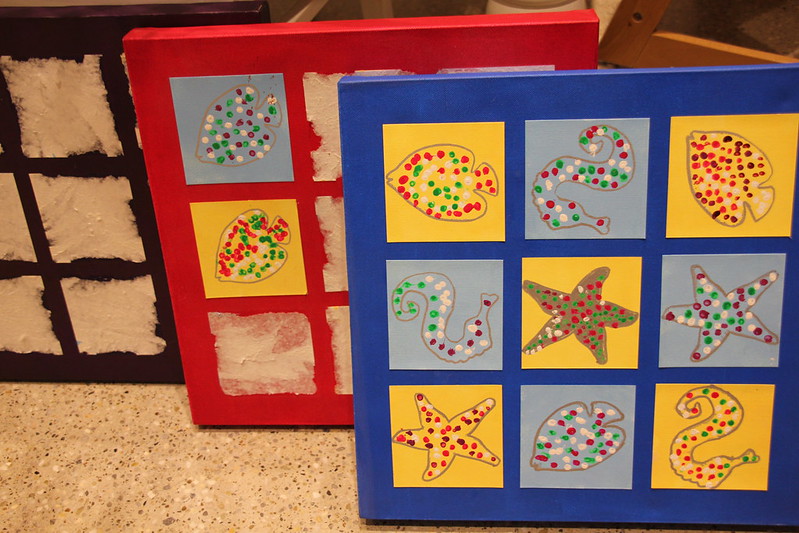
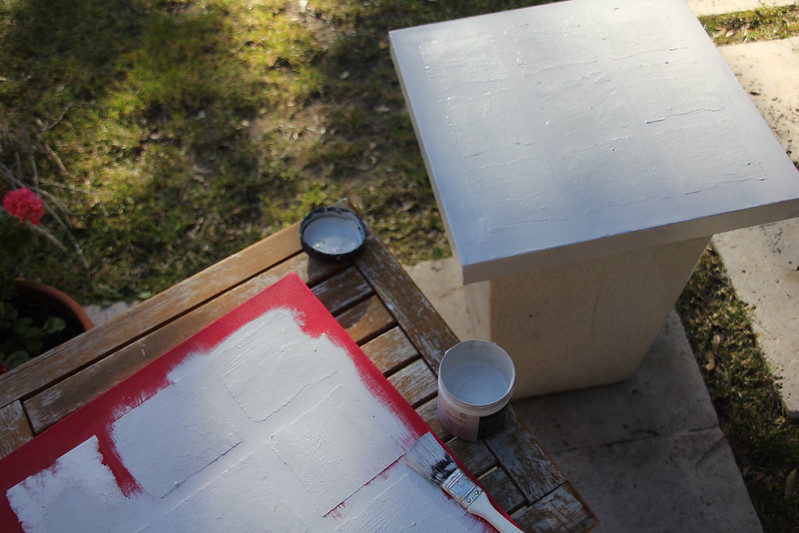
The cardboard pictures were stuck on really well. Then once they were all removed and painted white they looked like this.
I used a pale grey matt paint because that is what I had. I got several tester pots of pale greys ages ago as they came with some other paint I wanted and I knew they would come in handy. You could see the adhesive and paper stuck to it, so I knew I had to cover these ones. I decided to find some really lovely wrapping paper and use that.
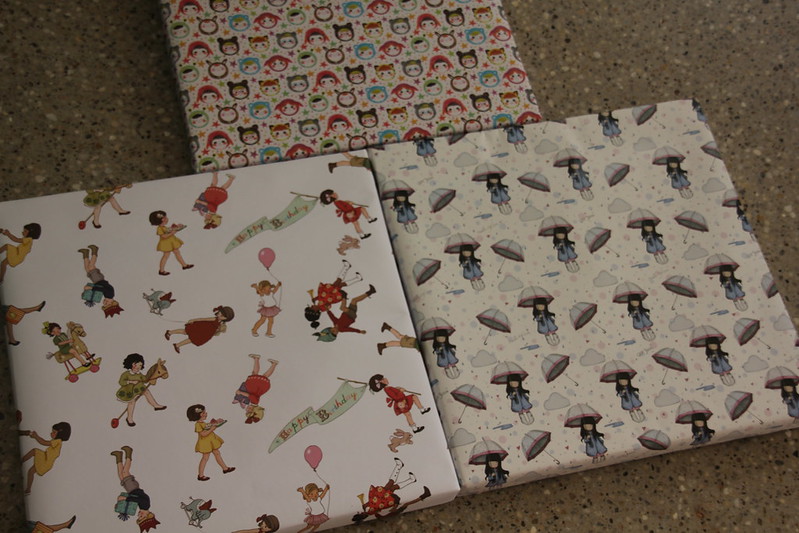
I found two I loved and one I liked less. Even though one of the two I love says happy birthday, you can hardly see this, right?
I cut the paper larger than the canvasses so it went right the way around to the other side and could be stuck to the underside. They were just wide enough to reach.
I stapled the edge of the paper onto the back. I just used an office stapler because I couldn't find my staple gun. The wood is very soft so this was no problem. I could probably have used tape if I hadn't had a stapler.
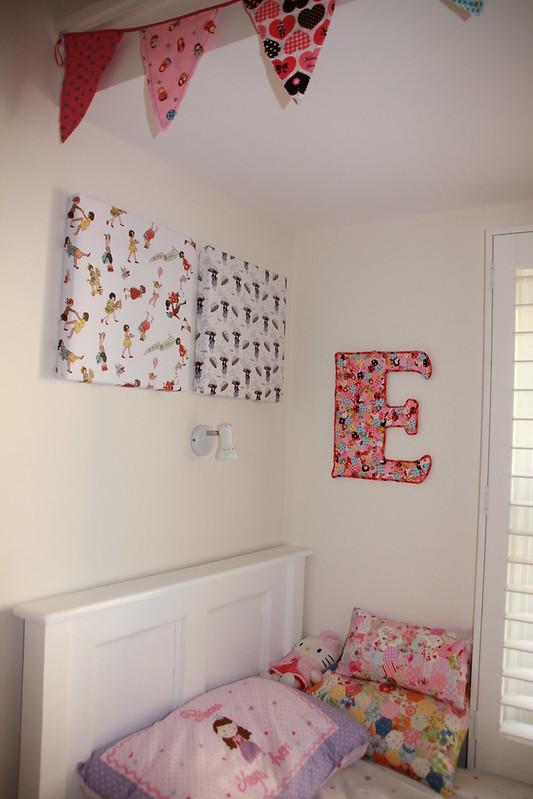
And here is what they look like on the wall. I found that two actually fit the space better so I still have the other one left over. More vibrantly coloured paper would have been nice but I wasn't able to find too many really nice papers. I will keep looking out for some now. I actually got these three in the UK and brought them back to Australia recently. The UK had amazing cards and wrapping papers.
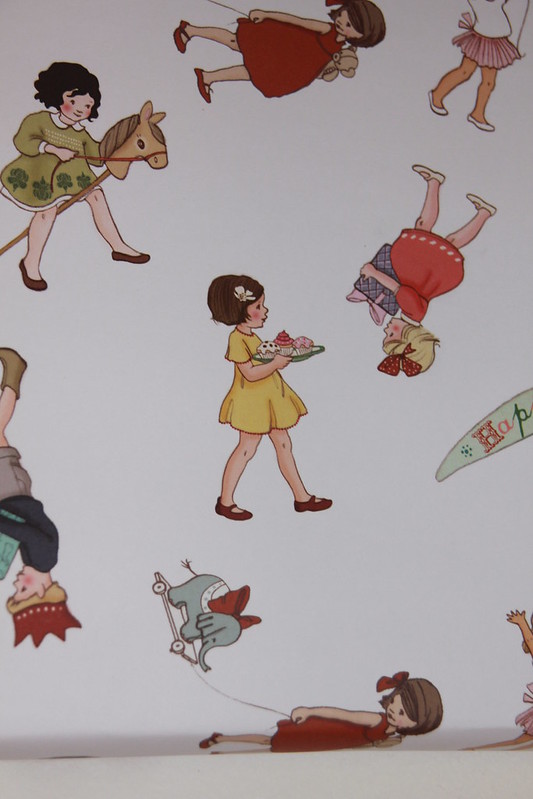
I call this one cake girl
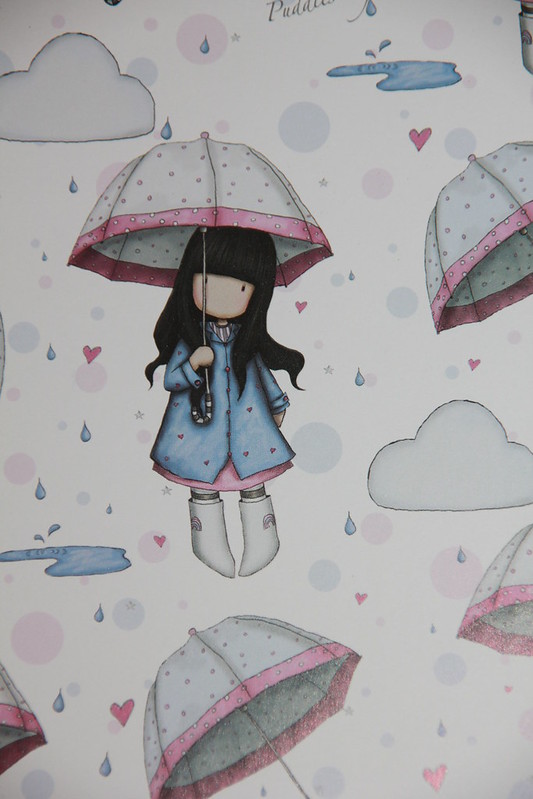
And this is umbrella girl. So cute!
Subscribe to:
Posts (Atom)


