Monday 30 September 2013

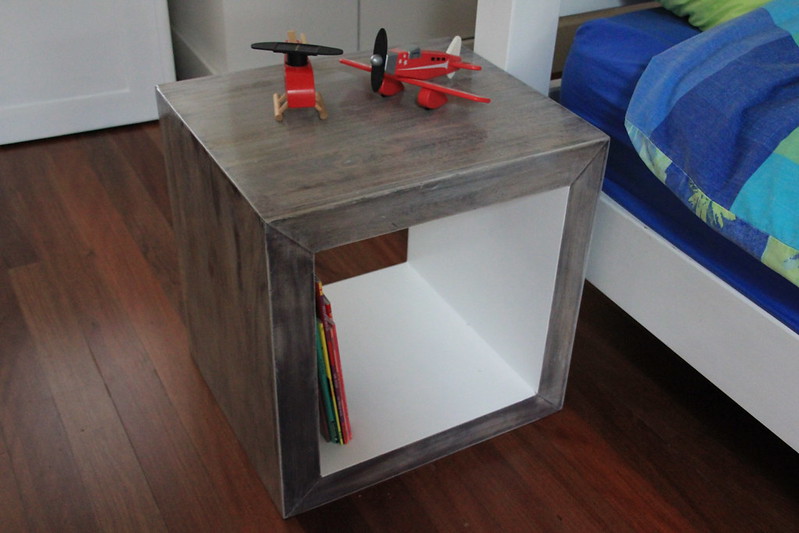
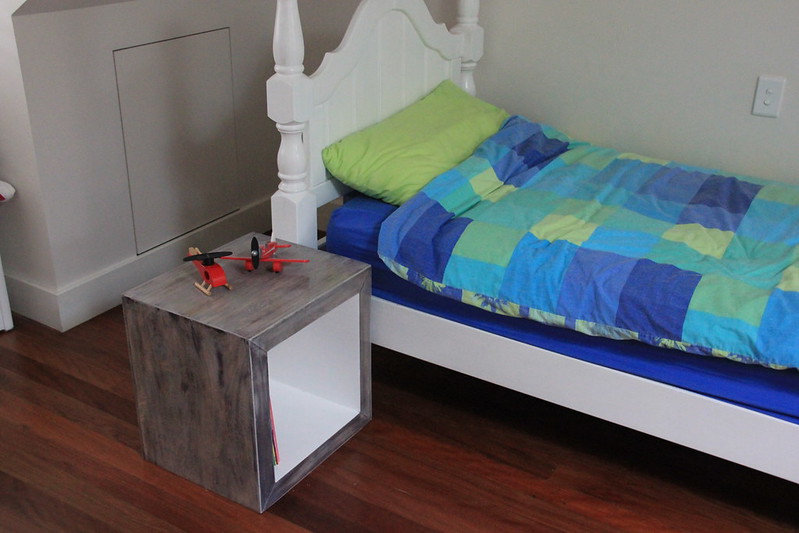
Furniture Cubed - Street Treasure!

I found this cube by the side of the road.  It is still sold in freedom in Australia and is $199.
It was being thrown away.  I really liked the shape of it. 
It was a little bit rough but not too bad and nicely made.  I just don't like this dark brown.  It is not my thing at all.  I thought about painting it white (yawn) but I didn't want to lose the wood grain. So I decided to try white washing, and thought if it all went wrong I could always paint it white!
So I took some white matt paint and let it down with water.  Then I painted it on with a brush and tried to keep it even and always painted in the direction of the grain.  It seemed to work ok.  I did the outside but decided the inside might be a bit hard to do and did it white instead.  I also gave it a top coat of clear water based varnish.  There is something about matt paint that I don't like and I really like it now it is glossy.  It is more practical too.
I absolutely love it and it is a bedside table. 
It is out in the middle of the room because the room is a funny shape and there is no corner to put the bed into.  If I have the bed sticking out into the room my son will just keep losing the duvet off one or other sides of the bed and I will have to keep going in and putting it back on in the middle of the night.  Not a scenario I enjoy.  So this is the arrangement at the moment.  He likes to make a den behind there anyway and put his tent there and lots of blankets - it is very cute. 

Thursday 26 September 2013

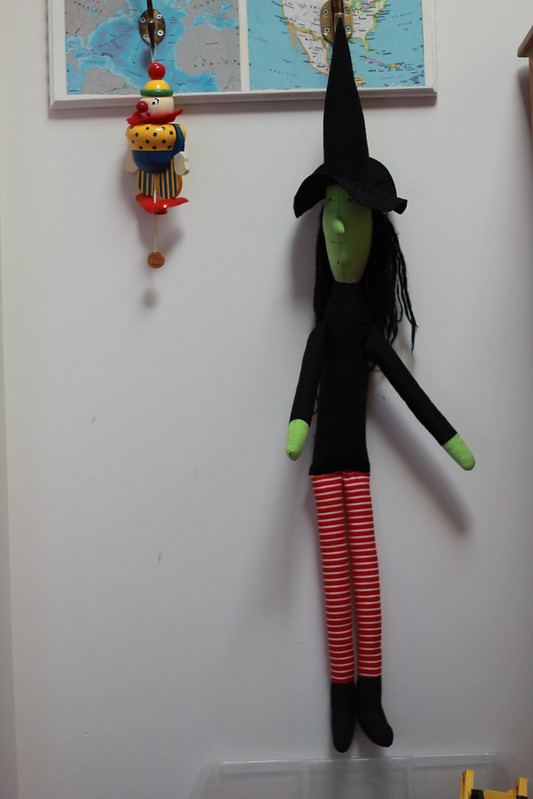
Halloween Characters

My son used to be mad on Halloween.  He loves everything spooky.  He used to love to wear a skeleton suit.  Next was a werewolf costume.
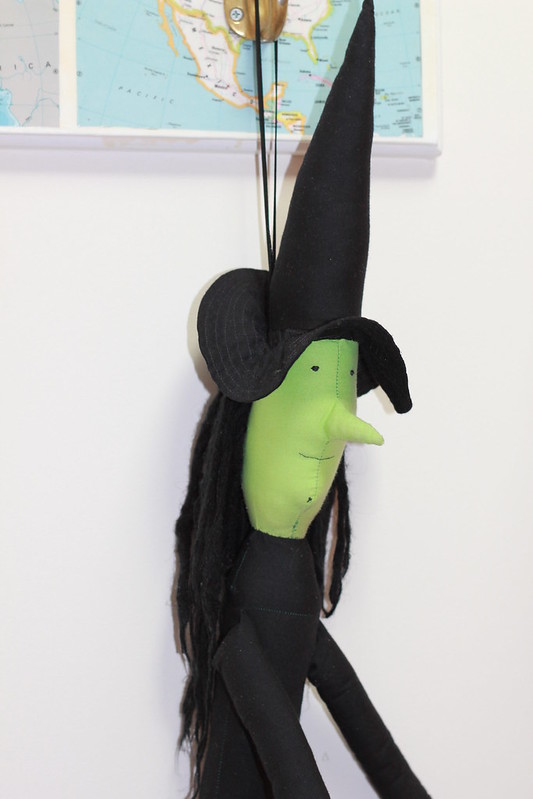
When he had his tonsils out he asked for a witch like the one in the Wizard of Oz.  As that film is from 1939 there isn't a great deal of film merchandise in the shops at the moment.  So I had to make him a witch. 
I absolutely love the maileg elves so I took these as my inspiration.  I really want to make an advent elf sometime.  That is on my list (it is a very long list).
from here 
Here are the maileg elves.  I had to make the nose much more pointy and the head was the hardest part.  I also needed a brim on the hat.
I always planned on making a dress.  I still am planning on making a dress.
That is a wart on the chin.  The hair is made from yarn and it is just perfect because the yarn just makes it so ratty.  Can't remember the name of it but it was extra ratty yarn.
Then once I had made this my son wanted me to make a skeleton.  I found this one on spoonflower.
The skeleton came with a dress which is like a pumpkin which I also made but I think he looks best without.  He is a friendly skeleton according to my son.  The fabric is very thin and so skellie is more of a decoration than a toy.  I have had to mend a few seams when he has come apart.  His arms and legs are joined on with buttons which is very cute.
Then ghost came along too to join this scary family.
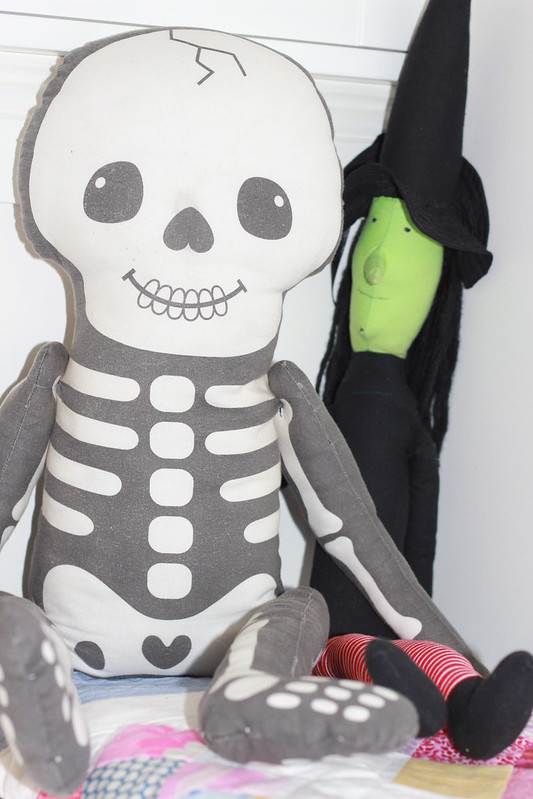
Now I think we have moved on to starwars.  Also, he doesn't want to wear costumes all the time.  All part of growing up I guess. 

Friday 20 September 2013

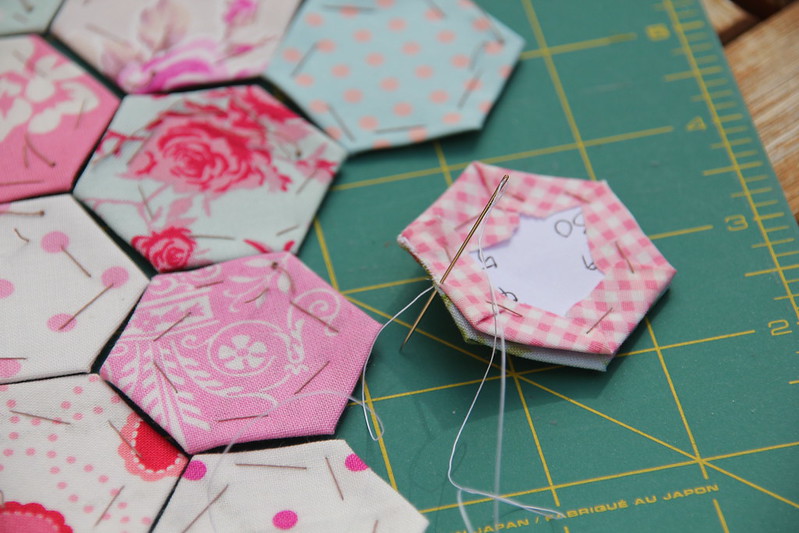
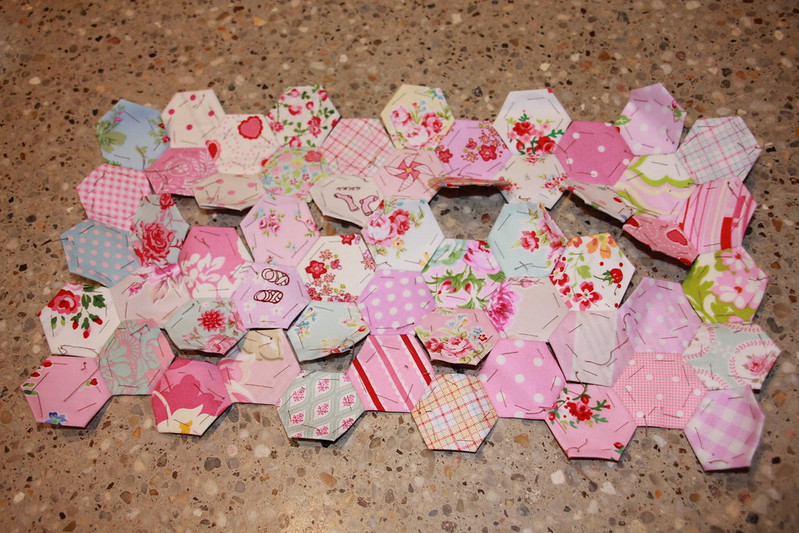
Little Hexagon Pillow in Pink

I finished a little pillow for my daughter.  I last posted about it here.
It is all pink and perfect for a little girl.
It was made by English Paper Piecing (EPP).
As this pillow is pretty small I made the hexagons first and laid them out how I wanted.  Then I sewed them all together.
I got a new lens for my camera.  I have a canon EOS 450D camera and I got a canon 50mm lens.  I love it for portraits and taking stationary things like craft and furniture.  It seems good so far.
I tend to sew the hexagons together so they are all joined on at least one side and then I go back and do all the rest of the seams.  I find this makes it easier to carry around as it becomes portable.  These hexagons have 1" sides.
I love this little strawberry!
I already had a pillow and zip for this so then I worked out if it was the right size.  I then made another row along one long side and then did the half hexagons to make the sides straight.
Then once I felt I had it the right size I removed the papers and ironed it all flat.  I took my backing fabric and pit a zip in it and then I sewed the front and back right sides together.  I didn't feel it needed quilting or lining.


Here is the side. 
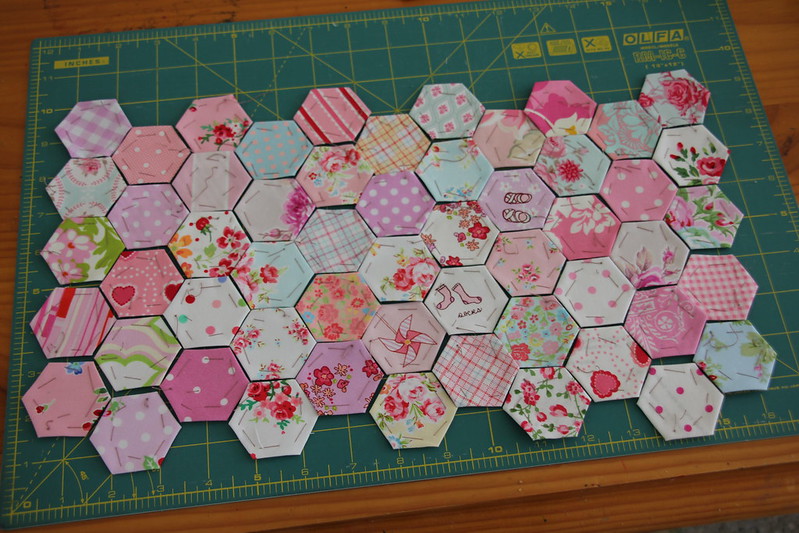
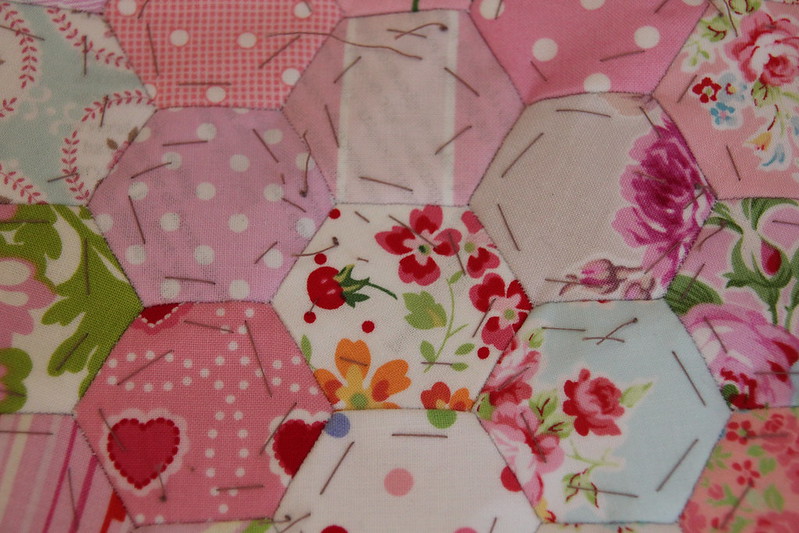
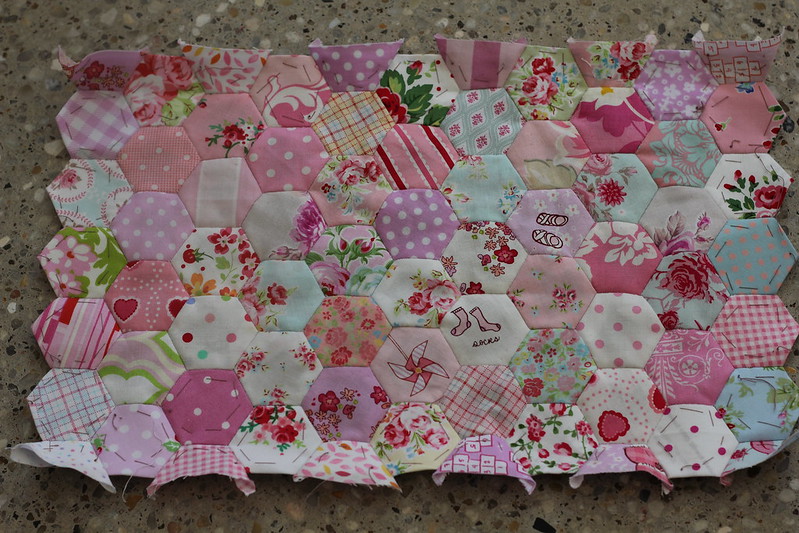
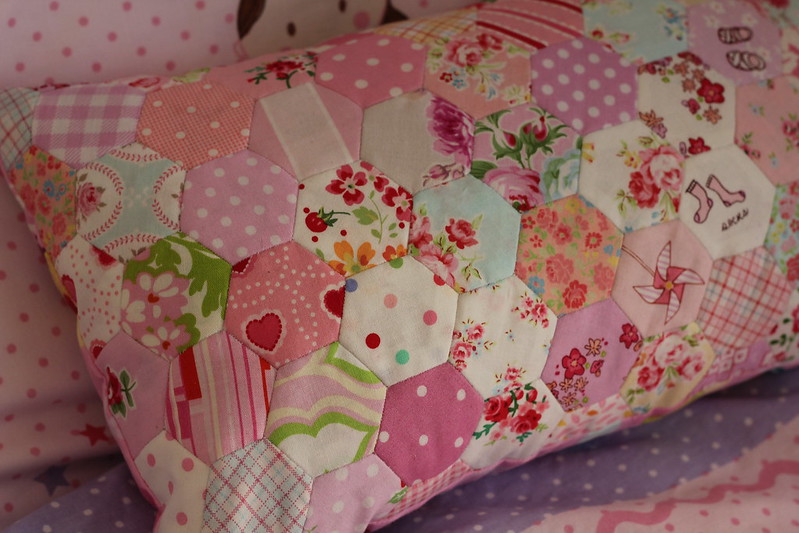
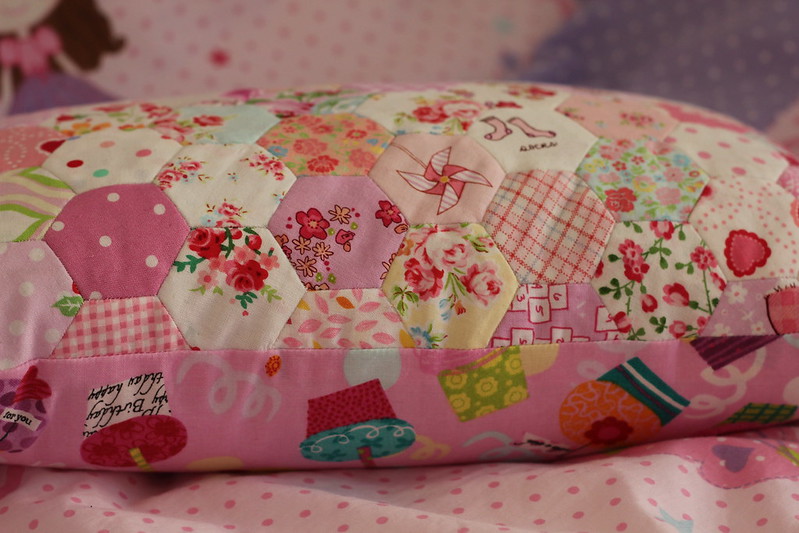
My daughter loves it and says it is beautiful!

Saturday 14 September 2013

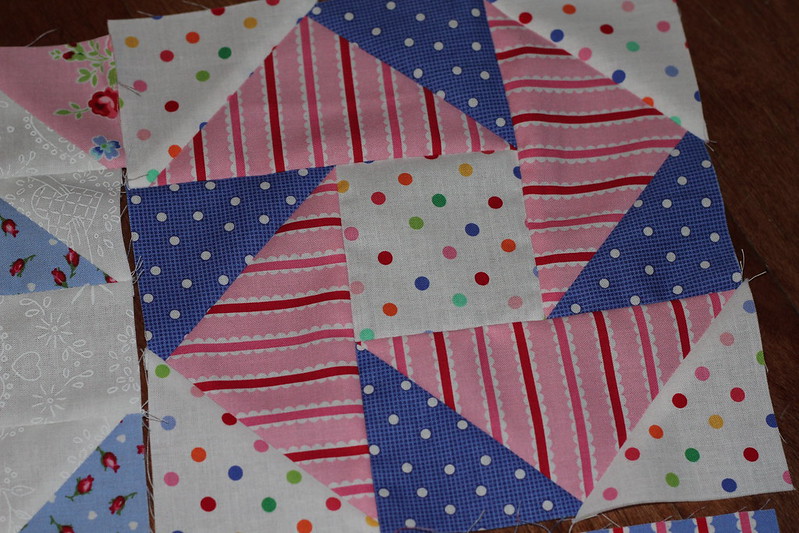
Virtual Quilting Bee Blocks

I am way way behind on my blocks for diary of a quilter virtual quilting bee.
Virtual Quilting Bee

I last did some way back in May here and then a little bit in June here.
I made 2 today and cut out another one!  I think I will have time to sew up the third one tomorrow.
This is block #4 by Melissa Corry of Happy Quilting and it is called going dutch. 
Here it is with the other ones I had already made.  The fabric is mostly Pam Kitty Love which I just love.  It has such a great vintage feel. 
I then made this one which is block #6 by Amanda Woodruff of A Crafty Fox.  It is called tilt-a-whirl quilt and it involves using inset seams.  That dots fabric is just about my favourite fabric at the moment. 
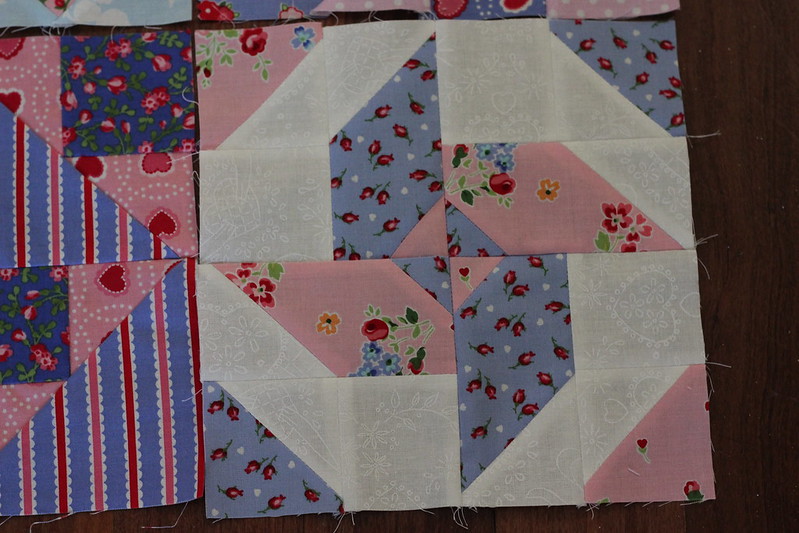
And then I cut out the pieces for the next block which is block #8.
This one has lots of tiny little pieces.  I like this quilting bee.  The blocks are spaced far enough apart that you don't get left behind.  This is important to me.  It is so nice to dip in and out of this one and not be struggling to keep up.  I mean, I am struggling to keep up, but I think I can catch up.
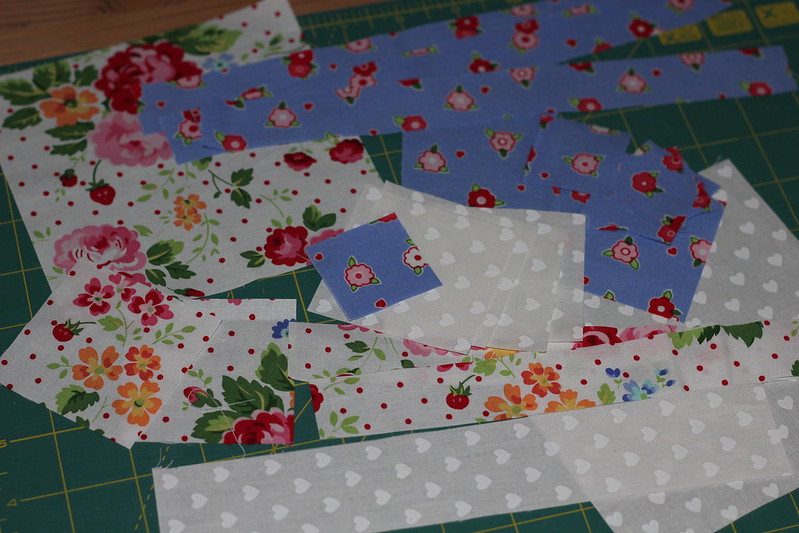
The finished quilt will look a bit like this one.  I absolutely love it.  I love the colours and it makes me wonder if I have enough different colours in my blocks. 
Have a great weekend!

Friday 6 September 2013

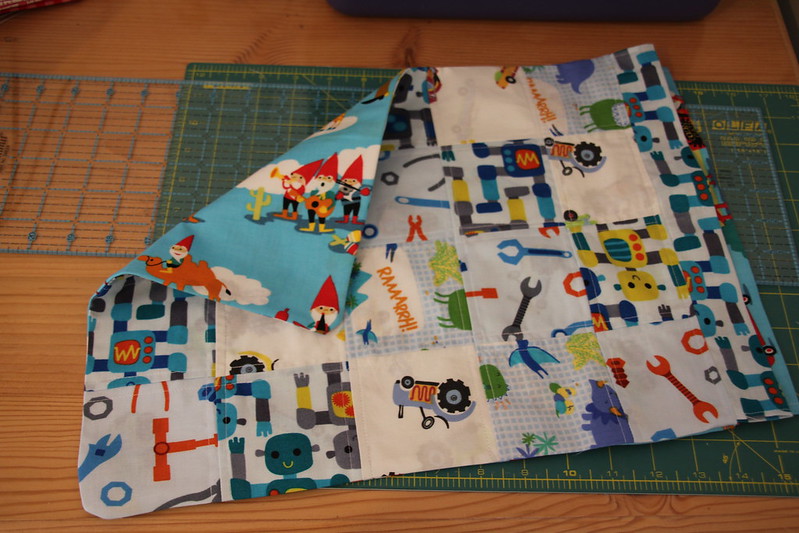
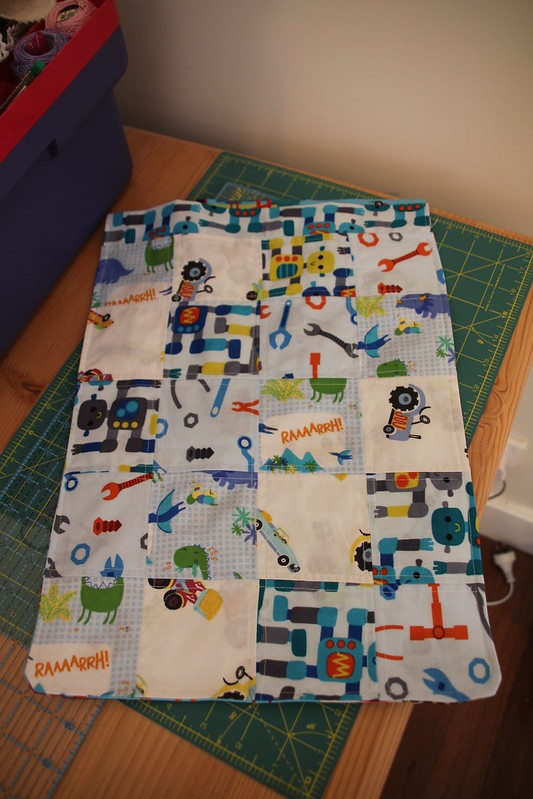
How to make a Drawstring Bag

My son had to take a costume to school this week and they asked that it be sent in a bag labelled with his name that could be tied at the top.  I gave him a plastic bag with his name written on a label stuck to it.  I thought, surely I could do better than this! I had been meaning to make a drawstring bag for him for a while so decided to get on with it.
The finished size is 12" by 17".
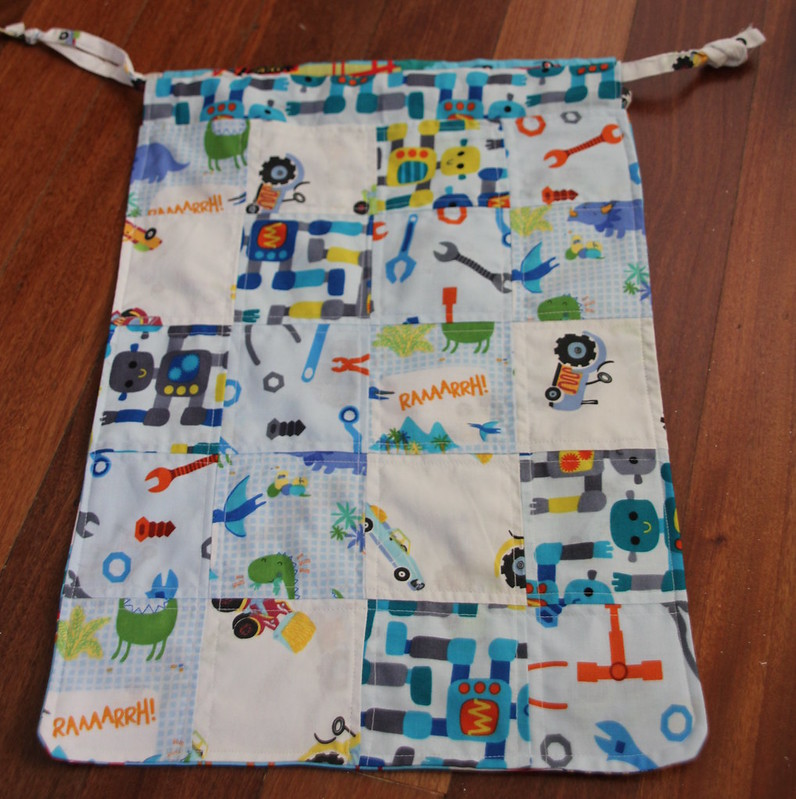
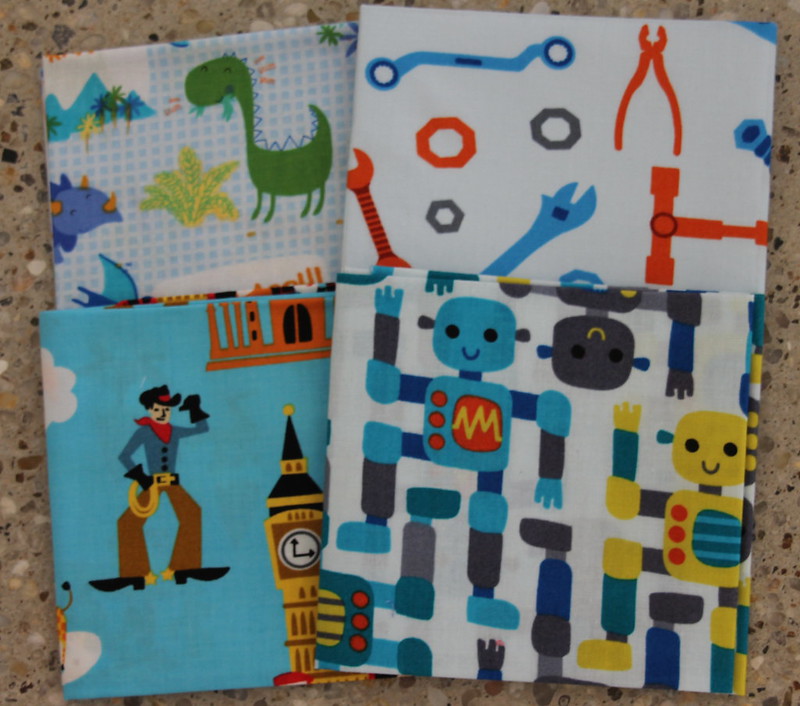
I started with a few fat quarters.
I got these at spotlight for only $1 each. 
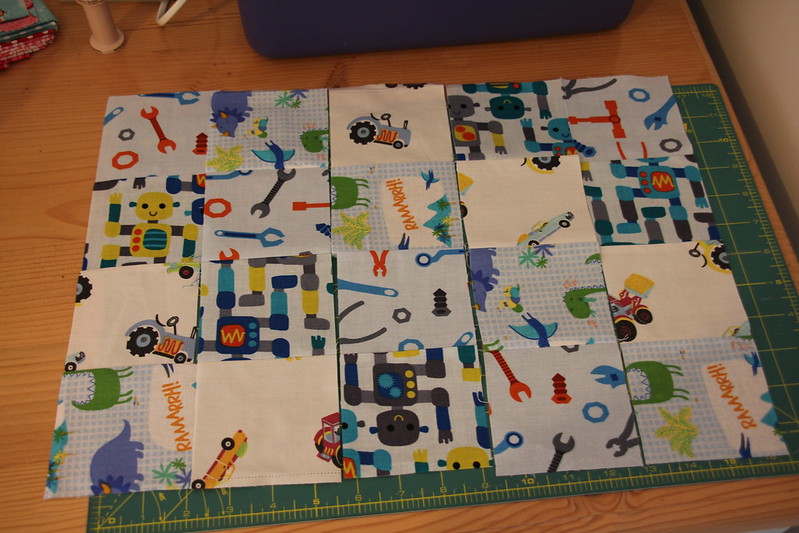
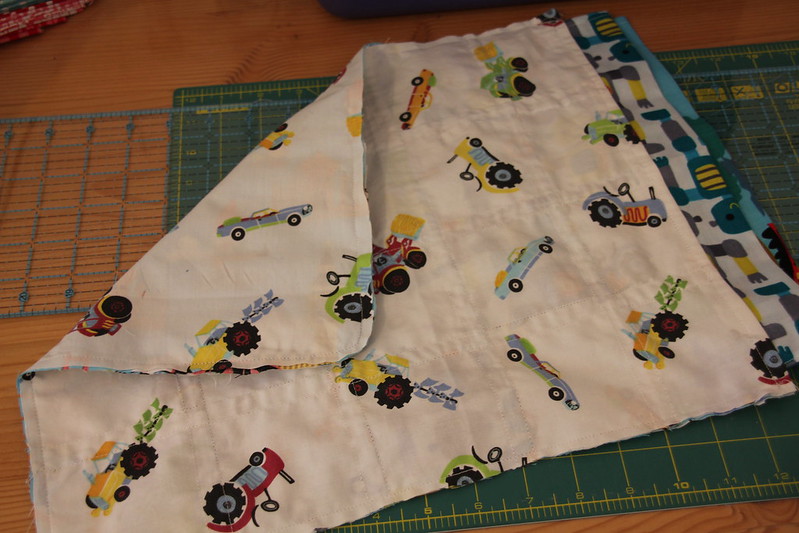
I cut a strip out of some of these 3.5" wide and also used another fabric which was once a sheet and has tractors and things on it.  I sewed 4 strips together.  They were all at least 17.5" long so I could make 5 strips.  I forgot to get photos of the strips showing how I got the squares to go diagonally but I showed that in more detail here.
Here are the strips sewn together.
I had this fun backing fabric that seems to have gnomes on it.  I cut a piece the same size as the front.
I cut two pieces of lining fabric the same size.  Tip:  make it larger by about an inch or more.
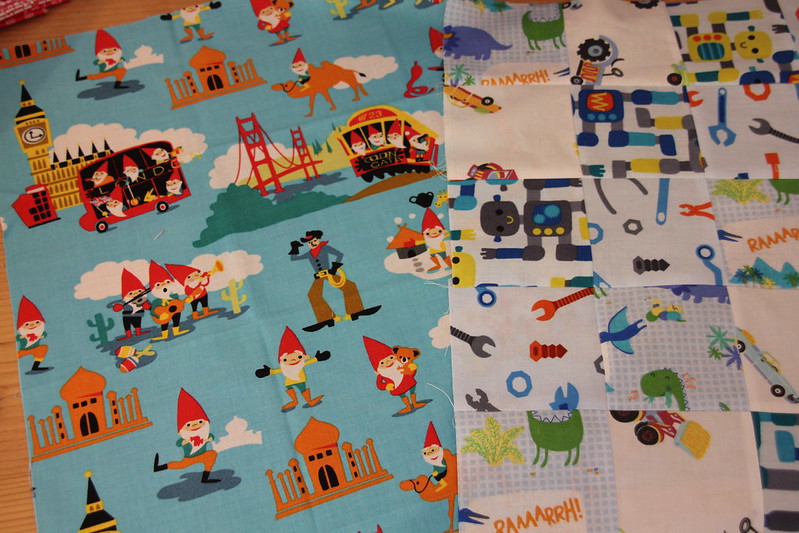
I also took two strips of fabric the width of the front and about 3.5" wide.  I hemmed the ends and these were used for the drawstrings.
I doubled this over lengthways and put it between the front and lining fabric pieces along the short edge and sewed them into a sandwich with the right sides together and the channel inbetween.
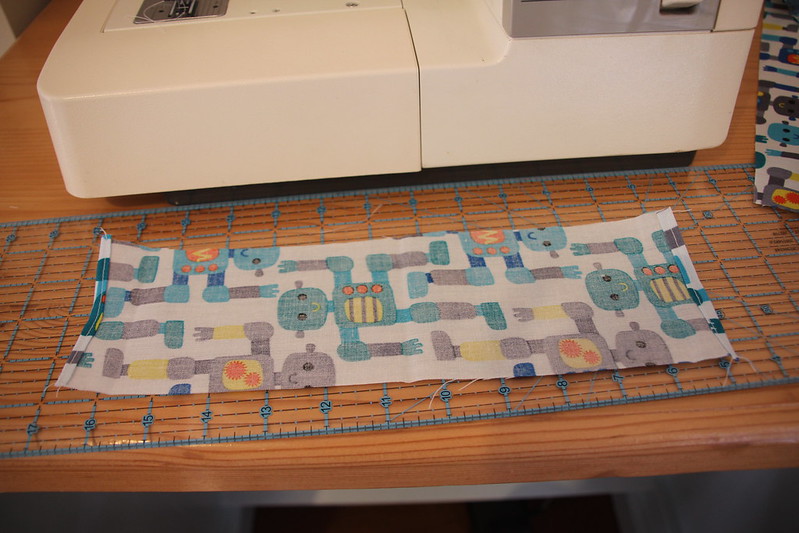
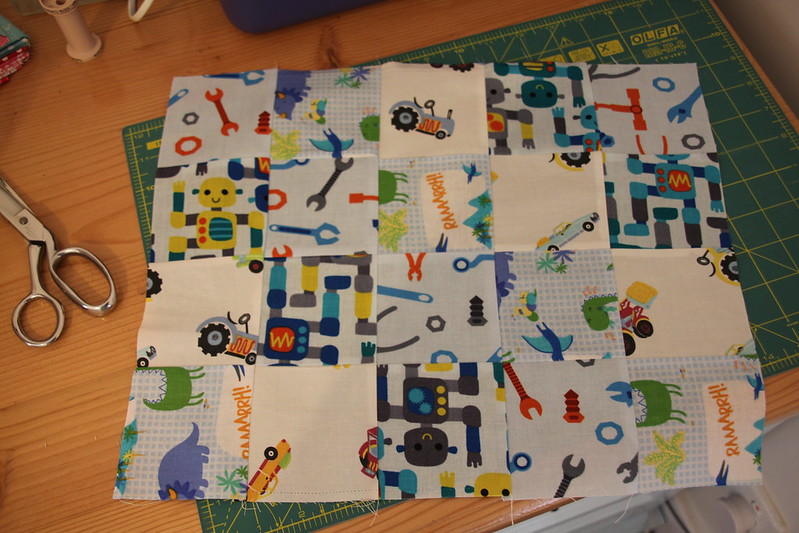
Then I turned them the right way and quilted the front and lining together.  I just did straight lines 0.25" away from all the seams.
I did the same with the back but didn't do any quilting except one line at the top.  It looked cuter without.  Then I placed the right sides together and sewed around the edge.
I cut off any excess fabric from the edge and turned it the right way.  I then did another line of stitching around the edge.
 Then it looked like this.
I then fed some drawstrings in which were from the lining fabric.  It used to be a sheet so I just cut off some of the hem to give me some cord to save me having to make it myself.
And here it is! I think it is pretty cute.