Sew Paint It
Pages
Home
About me
Quilts I have made
Other Quilted Stuff
Furniture Renos
Blogs I love
My Favourite Link Parties
Wednesday, 17 April 2013
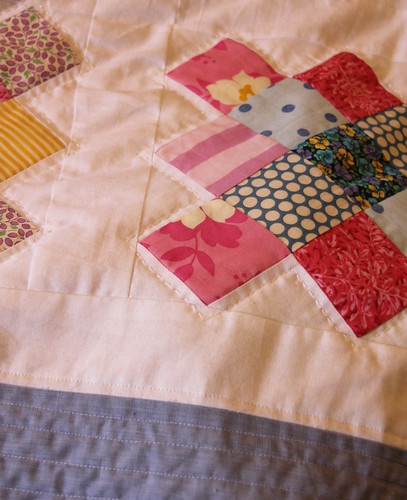
Pictures from today
Newer Posts
Older Posts
Home
Subscribe to:
Posts (Atom)