Thursday, 21 February 2013
A Boys Quilt
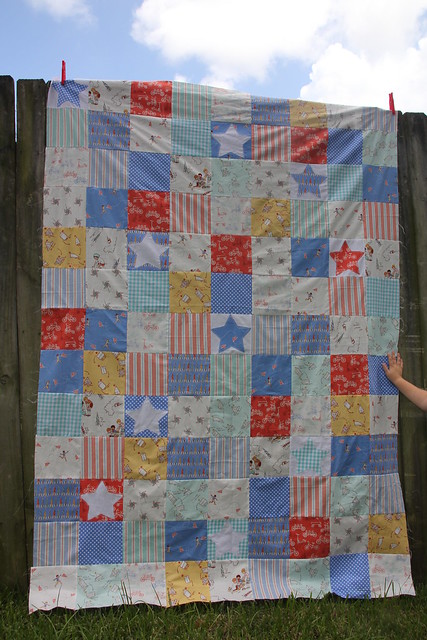
Anyway, this quilt is for my little boy and I hope to have it ready for winter (this year).
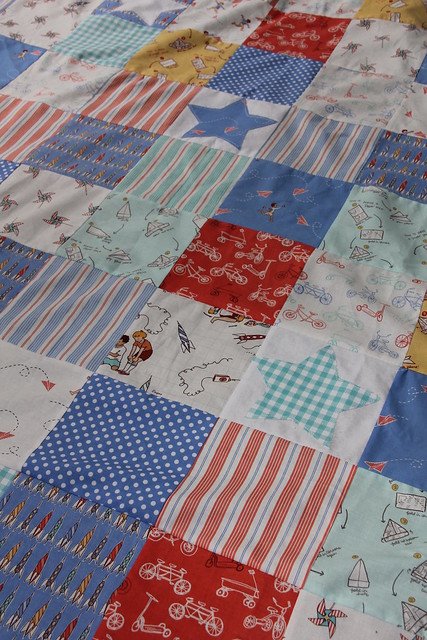
The squares are 6" and I did raw edge applique for the stars. To do this I take a 6" square and cut a star out. I cut it out neatly so I had a star and also a square with a star shaped hole in it. I made the star template from printing one off from the internet that I found. Then I cut a star out from fusible web and ironed the star onto a 6" white square with the fusible in between. The fusible web sticks the two fabric pieces together. Then I sewed around the star using my sewing machine. I went around a couple of times, just because it looks nice. I also made some using the fabric with a star shaped hole and sewed this onto a white square in the same way with fusible web left from cutting the fusible web stars. I made 8 stars in total.
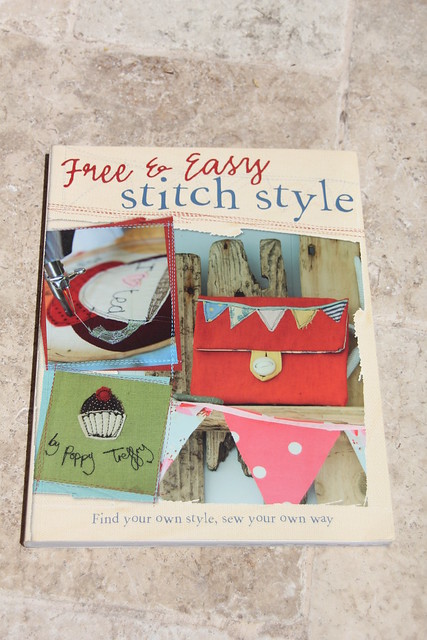
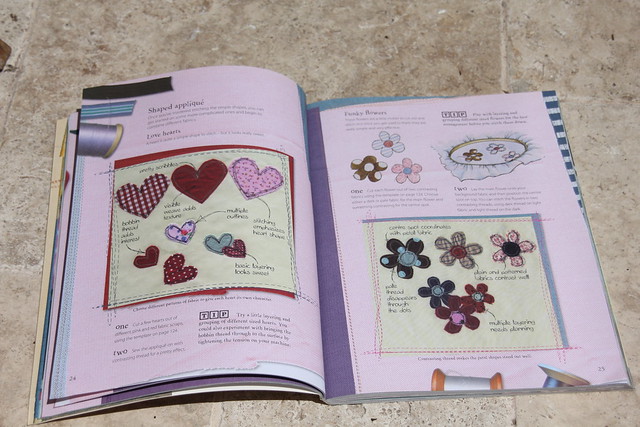
I used this book to teach me to do raw edge applique.
Free and Easy Stitch Style by Poppy Treffry - great book.
It explains how to do it and also has nice pictures and ideas for making stuff!
So once I had my 8 appliqued stars, I cut out a lot of 6" squares from the fat quarters. There are 117 in total. I laid them all out and had a look to see if they were random and if I liked the position of the stars. Once I was happy I photographed it.
Then I left them piled up for a while before I finally sewed them all together. You have to like ironing, or at least tolerate it, because you have to do a lot of ironing whilst doing this. I don't like ironing.
Then I folded it up until I got it out again today and sometime I will get a big piece of batting and backing fabric and sew it all together into a sandwich and then bind it around the edge. And hey presto! It will then be a finished quilt. But until then, it looks like the above.
Labels:
batting,
binding,
children at play,
fabric,
fat quarter,
fat quarters,
quilt,
quilting,
squares,
stars
Subscribe to:
Post Comments (Atom)


No comments:
Post a Comment