Tuesday, 18 June 2013
Spray Painting Plantation Shutters
image from here
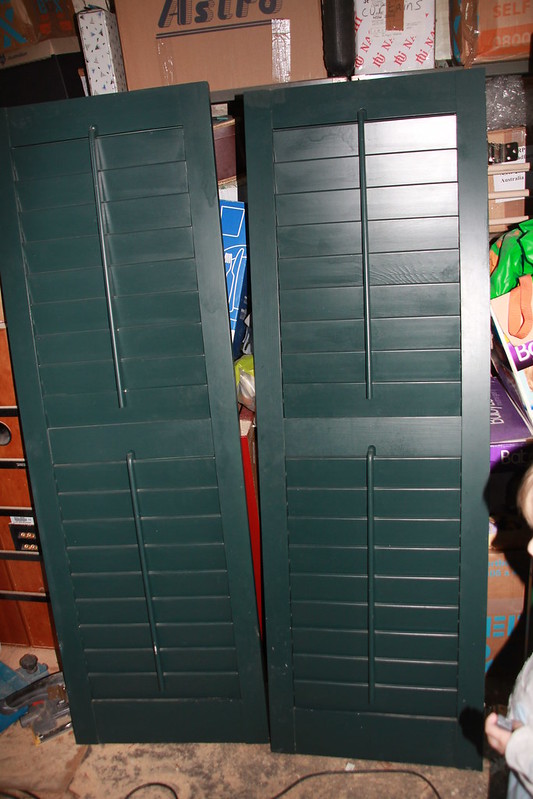
This is why, a couple of years ago, while we had moved out of our house to have it renovated, I was on the lookout for some second hand ones on gumtree or ebay. Well I found some. Here they are. These,
and these.
Special aren't they? Yes, I know what you are thinking; they are green. Dark green. They were from the same house but they don't match. Not that that really matters as I didn't want them dark green, but anyway.
The seller said, oh, you just need to spray paint them, you'll be fine. So off I went with them under my arm.
Two years later my husband is doing it, hooray!
Here are his top tips for successful spray painting:
Important: Safety First! Wear a proper facemask suitable for spray painting & make sure it seals well to your face without any gaps.
- Sand the surface with 120 grit paper.
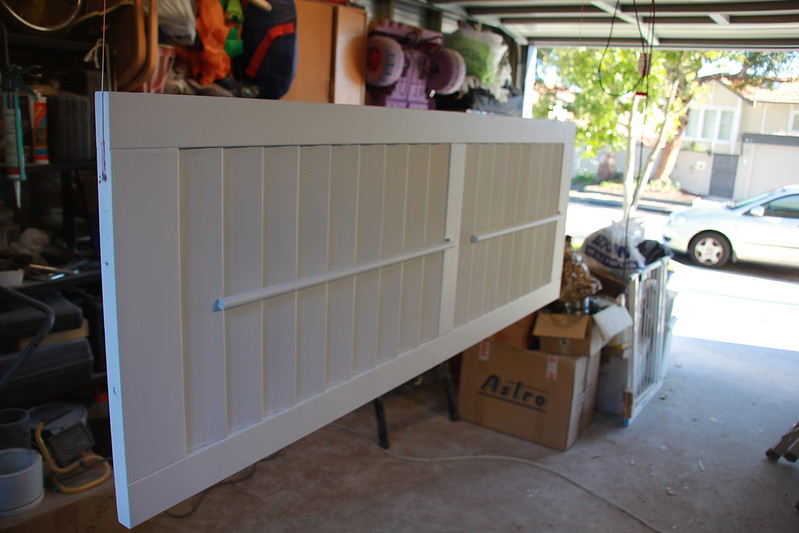
- Hang the item using temporary screws and string so that contact points are minimised.
- Blow off dust with an airgun & wipe down all surfaces with microfiber wipe.
- Get some water based undercoat & mix it up, pour some into a spare tin or sealable container. Add 10% water & mix.
- Fill the airgun with the diluted paint. Set the air pressure to around 40psi. Adjust the settings by test spraying onto the side of an old cardboard box. Set the quantity of paint by adjusting the knob at the back of the gun. Set the ‘fan’ of the spray pattern by adjusting the knob near the nozzle. Its good to have a nice wide fan to make the coverage more even.
- Start spraying! Try to do the tricky areas first. Shutters have A LOT of little nooks & crannies & it took a few goes to work out what areas to do first… You should keep the gun moving as you spray to ensure you get a good coverage without any runs. It’s a balance between having a rough finish where the paint drops have not flowed together with each other and having too much paint which runs. Its not easy, but practise & learning as you go will get you there.
- Allow to dry for 2 hours or more. Empty the paint back into the container & clean the gun with plenty of water. You need to strip the gun down every time otherwise you will find that all the pigment settles into the nozzle and blocks it. Even if you think you know better & think ‘I know I’ll wrap the nozzle in a some moist rag to stop it drying out’. No, it won’t solve the settling in the nozzle problem…
- Repeat with the top coat. Use a water based paint suitable for timber.
Top tips
You
need to have plenty of reflecting light to see how the paint is going
down as you are spraying. Use work lamps on either side of the work
piece. You will need to position yourself so that you can see the light
reflecting off the paint, its harder with white paint as its not so easy
to see the reflection.
Cover
anything in the garage /workshop with dropsheets. A few minutes spent
doing this will save your prize possessions getting covered in spots of
paint!
This is the aircompressor and below is the spray gun. The gun is gravity feed. Gravity feed guns need lower air pressure to achieve vacuum. Spraying with lower air pressure has the advantages of less overspray, less waste and greater control for the painter.
The gun is being held in a vice to keep the cup upright. The gun is not by any special maker. It is just a cheap one.
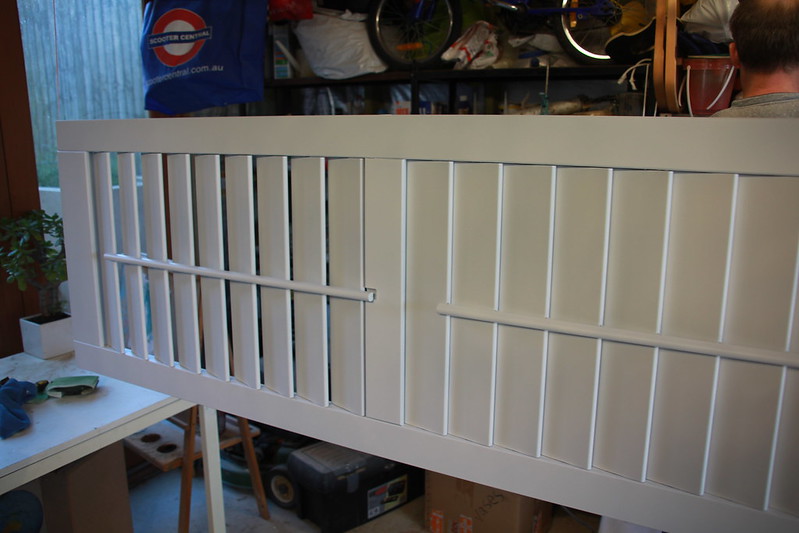
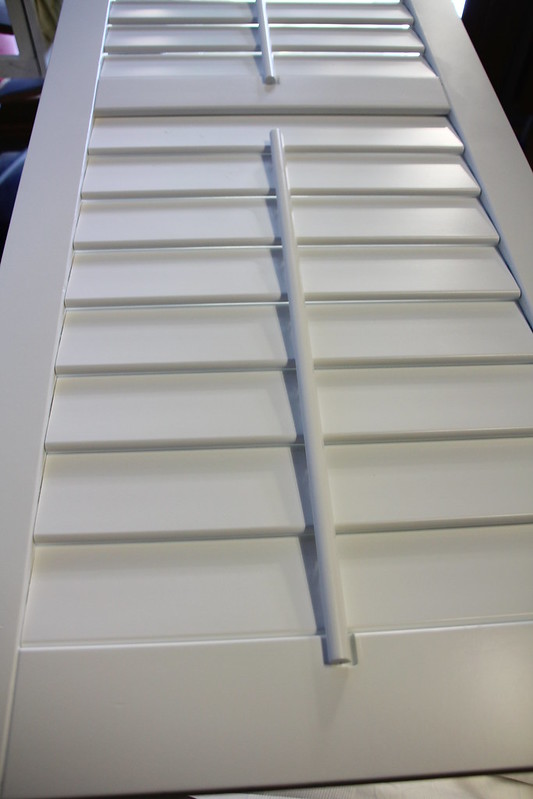
So here is the first one almost finished. I just love it so! They are going to look amazing when installed too. Can't wait.
Subscribe to:
Post Comments (Atom)


You so deserve beautiful white shutters- if only for your bravery! I spray painted a tiny bit of trellis amd vowed "NEVER again"!
ReplyDeleteWell done clever couple :0)
These look wonderful!!! Great tips on how to spray paint! Thanks for joining TTF this week.
ReplyDeleteLinda
Two years? That made me laugh.. sounds like our place. Love it in white!
ReplyDeleteHow many shutters did you need? Think I could find 26 all alike, anyplace? gumtree? never heard of it before....might just try there.
ReplyDeleteMeantime, your paint job is terrific. Gotta love that husband of yours.....
Hi Marje, They only had two pairs so I bought both as these will fit on several of my windows. I think you would be really lucky to get 26 all alike.... I would just keep on looking and eventually you will have enough. hopefully!
Deletehi Marianne - this is such a good makeover. I have never used a spray gun - just don't have the space but I would love one (and a workshop!). hope your shutters are now up and hanging!
ReplyDeleteThanks for linking to my paint parade -sorry about last week, I've been MIA!
cheers Fiona
Hello. I just wanted to check in with you to see how well the paint has held up in the 2 years since you painted it. We are debating right now on painting some newer ones And I wanted to check with others before we pulled the trigger.Thanks
ReplyDeleteHi Stacy! Mine are still perfect without a mark on them. They are not used heavily but spray painting is definitely the way to go. For better adhesion you need thin layers of paint and with spray painting you can get it on thinly.
Delete