Wednesday, 12 June 2013
Make a Messenger Bag
I used a medium weight denim for my bag. This will be nice and durable. The embellishment is pam kitty love, sarah jane children at play (as I have a lot of scraps of this to hand) and some hello kitty. I mostly stuck to the Plum and June instructions except that for the strap and finishing of the top of the bag.
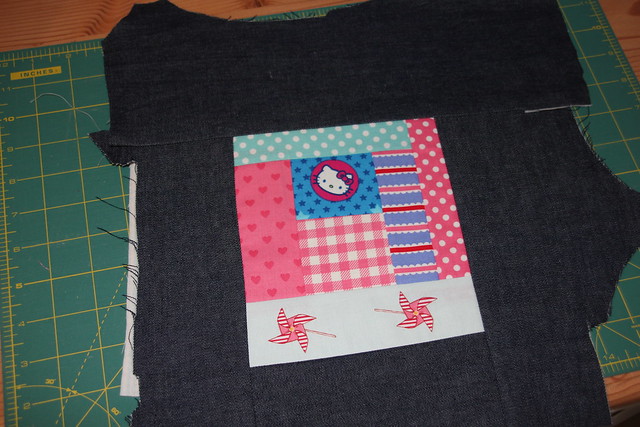
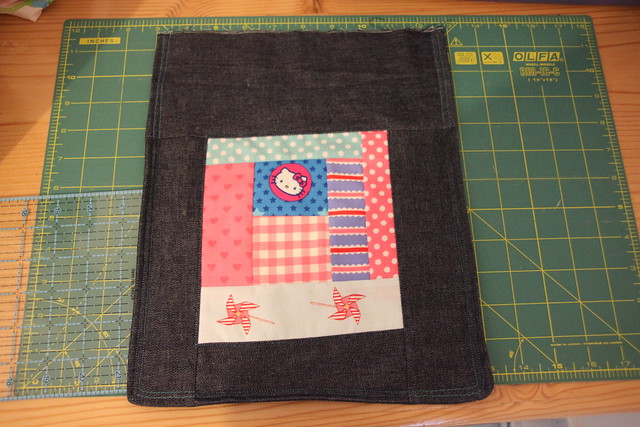
I started by doing a simple sort of log cabin type arrangement in pink and blue using a piece of flannel as a base. I finished it all around in the denim. Then I used another piece of denim for the other side of the flap (Plum and June use fabric) and a did a few lines of stitching around the edge of it and the edge of the patches.
Yes, I know, it isn't quite level at the bottom. I love that bit.
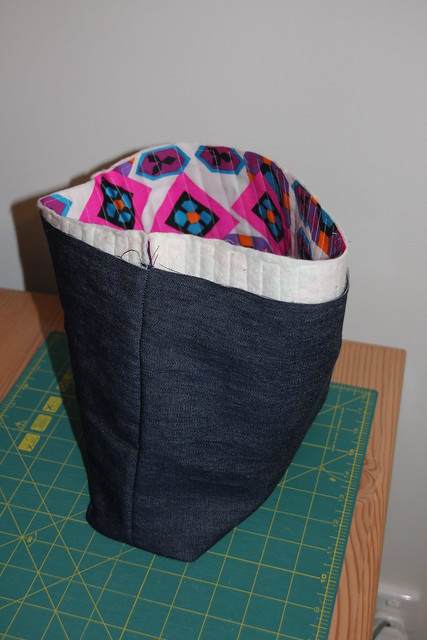
I took lining, batting and outer fabric which were all about 25" by 11". I quilted the lining to the batting and sewed the side and bottom together and then I made corners (how to do that is here by sew mama sew).
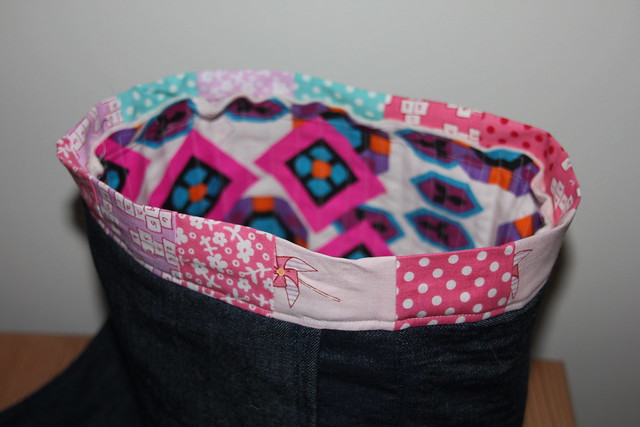
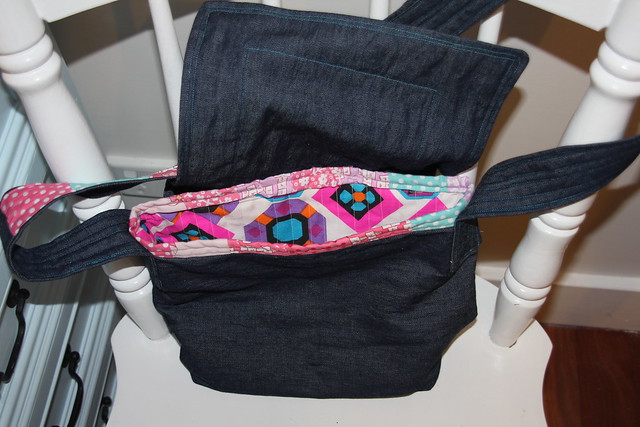
Then I took the outer fabric and sewed that the same way and put one inside the other. I found the outer fabric wasn't long enough for some perplexing reason. I didn't feel like making the bag shorter so I decided to have a pieced border around the top that you would hardly see anyway due to the flap and strap. So I got out my scraps from making 16 patch blocks. I knew they would come in handy one day!
So I sewed them into a strip, doubled them over and sewed them around the edge like binding. I over sewed it to make it really secure as this also held the flap into place. Then I secured it to the inside as well.
Don't look too closely, it is not the best binding job you have ever seen in your life. My excuse (if I needed one) is that I was making it up as I went along.
I then made the handle. The one in Plum and June was pieced the whole length but I felt mine would be too garish and pink if I did that so I had only two areas where I pieced it. I made the handle out of lengths of denim and batting in the middle and quilted it in lines several times along the length. Then I sewed it onto the sides. I used a bright blue thread for all of the stitching that can be seen.
Over the last few weeks I have read so many write ups about the quilt show in Oregon. I have loved reading about it. Well this week Sydney has the Craft and Quilt Show here at Darling Harbour so I am going to go. I am going to go on Friday. I am going to be using this very bag while I am there. If you see me with it, then please feel free to shout out 'Hey! Bag lady!!'. I will be so happy if you do!
Labels:
binding,
hello kitty,
lining,
messenger bag,
plum and june
Subscribe to:
Post Comments (Atom)



that is an adorable bag! I love bags and need to try making some more of them for myself!
ReplyDeleteI am stopping by from the WIP post, hop by if you get a chance! http://domesticdeficitdisorder.blogspot.com/2013/06/wip-wednesday-june-12th-edition.html
Love the combination. Beautiful...
ReplyDeleteleena
So cute!
ReplyDeletevisiting from finish it up friday. Great bag
ReplyDeleteReally cute! I have just started making purses myself.
ReplyDeleteIt's adorable, Marianne. Way to go on problem solving! Have fun at the show.
ReplyDeleteThat turned out so cute! thank you for sharing at TTF!
ReplyDeleteCute messenger bag. Thanks for the tutorial ... :) Pat
ReplyDeleteCute bag... I like the log cabin block on it!
ReplyDeleteWhat a great bag! Have fun at the quilt show! Thanks for sharing.
ReplyDeleteFreemotion by the River Linky Party Tuesday
I have never made a bag, seems hard. Yours came out great though! Hello Kitty is too cute:)
ReplyDeletevery nice! this looks like such a fun bag to carry :)
ReplyDeleteVery cute bag. Great colours.
ReplyDeleteThanks for sharing how you made it a great tutorial and it is easy to follow. Your Bag looks lovely with all the bright fabrics and black. Cheers Gledna
ReplyDeleteSuper cute - love Hello Kitty! Thanks for partying with us at Give Me The Goods Monday! Hope to see you back next week! Jenna @ Rain on a Tin Roof
ReplyDelete