Friday, 6 September 2013
How to make a Drawstring Bag
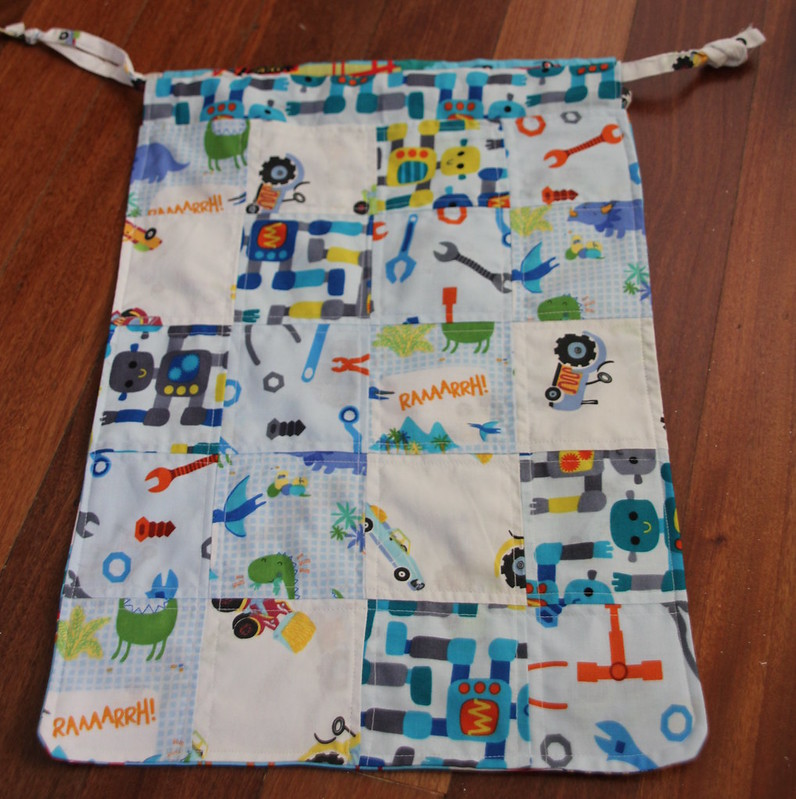
The finished size is 12" by 17".
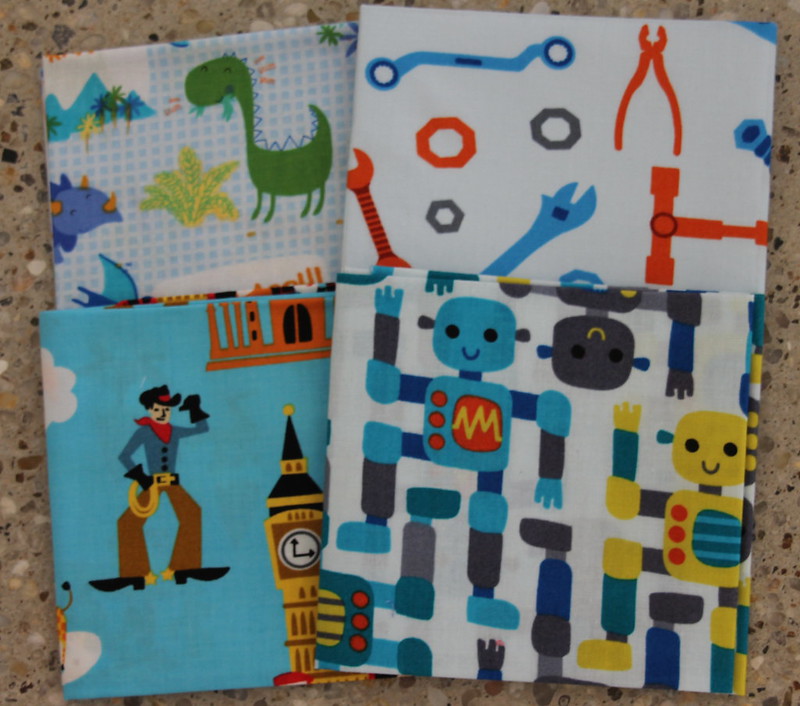
I started with a few fat quarters.
I got these at spotlight for only $1 each.
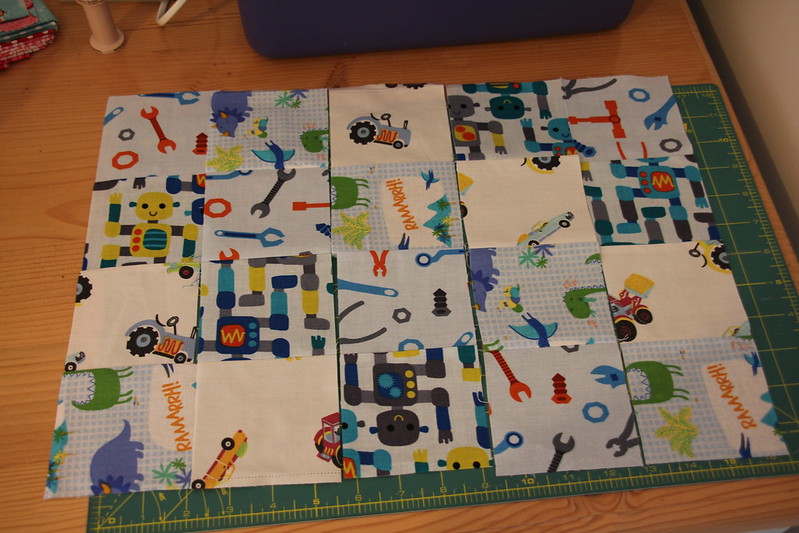
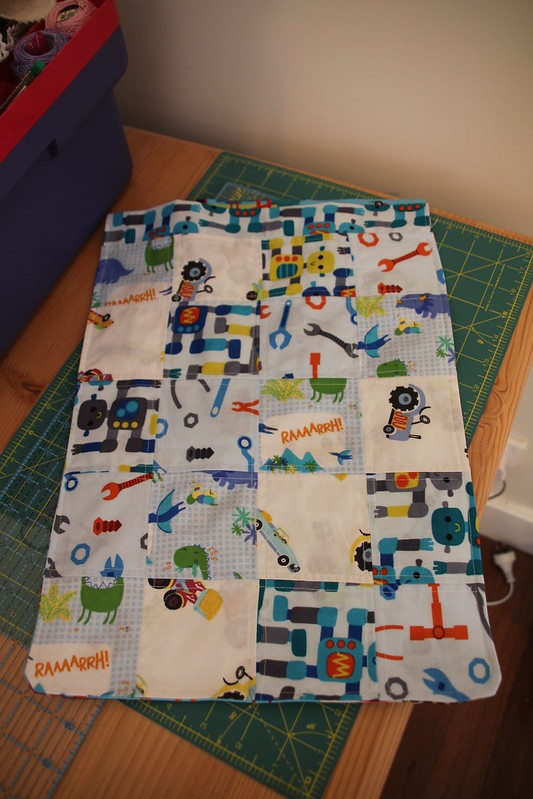
I cut a strip out of some of these 3.5" wide and also used another fabric which was once a sheet and has tractors and things on it. I sewed 4 strips together. They were all at least 17.5" long so I could make 5 strips. I forgot to get photos of the strips showing how I got the squares to go diagonally but I showed that in more detail here.
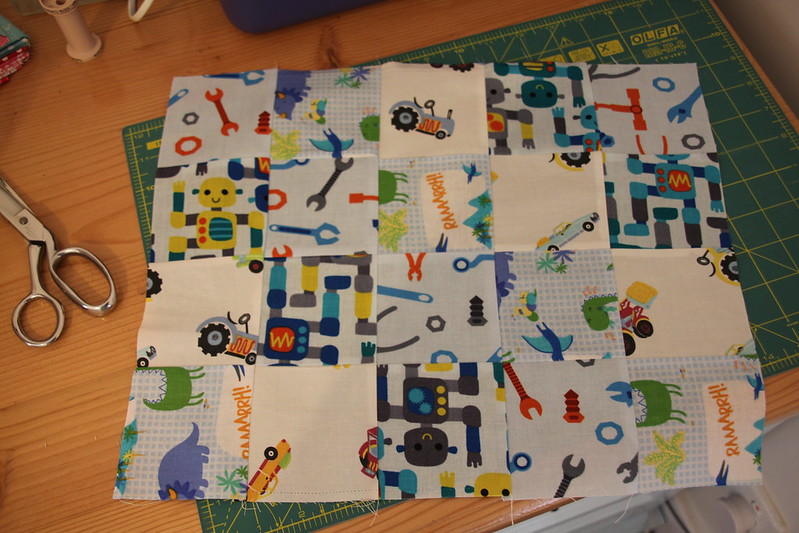
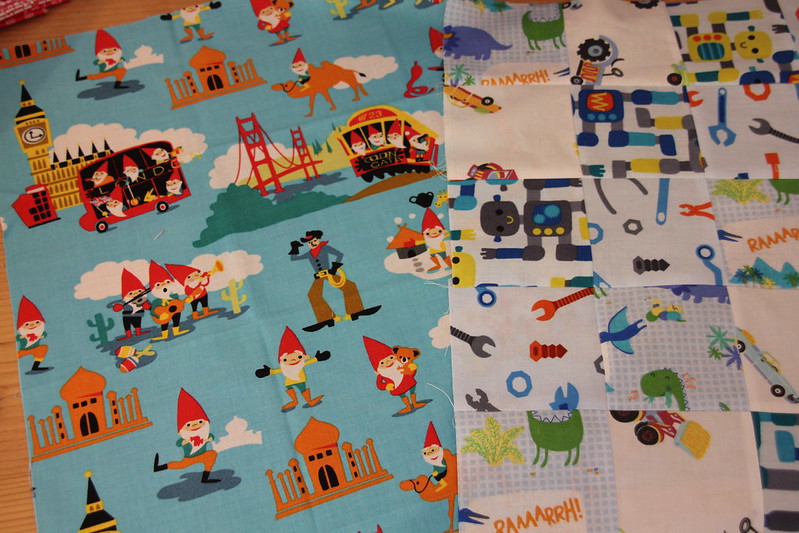
Here are the strips sewn together.
I had this fun backing fabric that seems to have gnomes on it. I cut a piece the same size as the front.
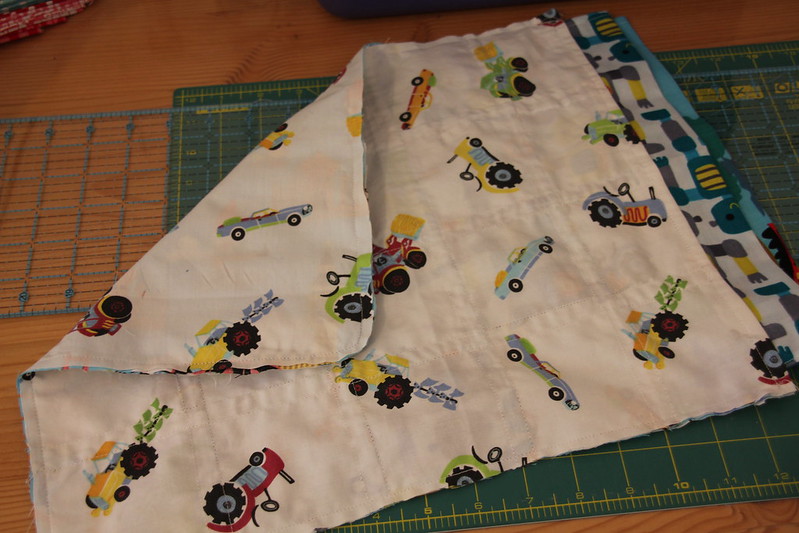
I cut two pieces of lining fabric the same size. Tip: make it larger by about an inch or more.
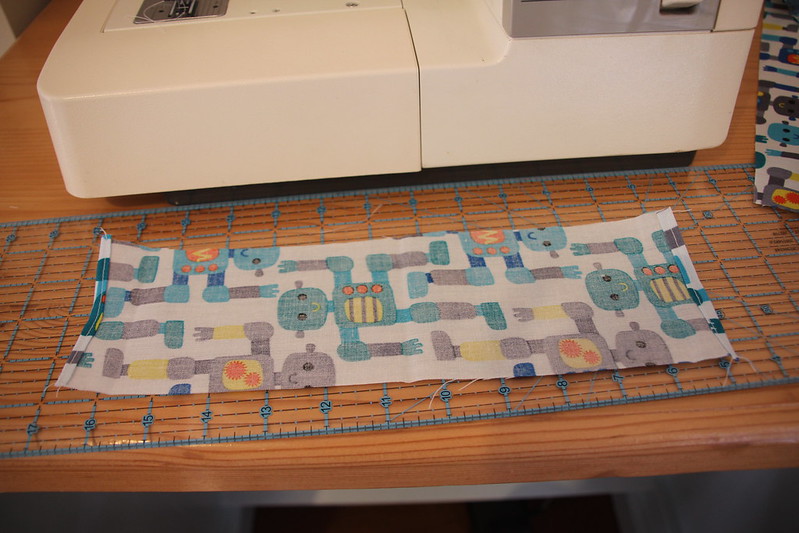
I also took two strips of fabric the width of the front and about 3.5" wide. I hemmed the ends and these were used for the drawstrings.
I doubled this over lengthways and put it between the front and lining fabric pieces along the short edge and sewed them into a sandwich with the right sides together and the channel inbetween.
Then I turned them the right way and quilted the front and lining together. I just did straight lines 0.25" away from all the seams.
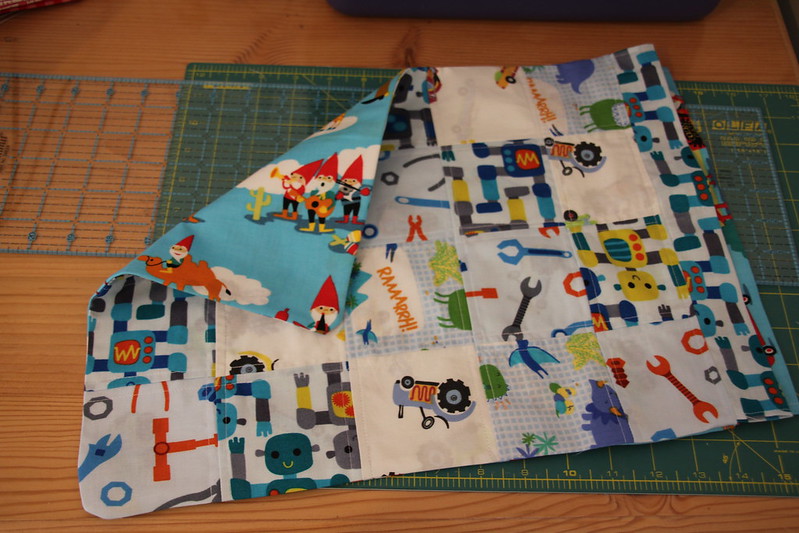
I did the same with the back but didn't do any quilting except one line at the top. It looked cuter without. Then I placed the right sides together and sewed around the edge.
I cut off any excess fabric from the edge and turned it the right way. I then did another line of stitching around the edge.
Then it looked like this.
I then fed some drawstrings in which were from the lining fabric. It used to be a sheet so I just cut off some of the hem to give me some cord to save me having to make it myself.
And here it is! I think it is pretty cute.
Labels:
boys fabrics,
drawstring bag,
fat quarters,
gnomes,
robots
Subscribe to:
Post Comments (Atom)


It is really cute! You're such a great mom to whip that up for him.
ReplyDeleteThanks for sharing this at Needle and Thread Thursday!
:) Kelly @ My Quilt Infatuation
what a good mum you are I would have givenmy boy the plastic bag as he would be bound to lose it-love deex
ReplyDeleteGreat bag and just what a boy needs. I remember making my son a draw string bag to take stuff to school.
ReplyDeleteThose school teachers are hard task masters! Did he get to take his costume in it?
ReplyDeleteThat is adorable! Way more interesting than a plastic bag with a black label :) Great fabrics, too!
ReplyDeleteWhat a lovely bag he ended up with - as a one of a kind it almost doesn't need his name on, does it? Great work!
ReplyDeleteWhat a great bag!!
ReplyDeleteThanks for sharing.
Freemotion by the River Linky Party Tuesday
Very very cute! I need to make one of these for my little nephew!
ReplyDeleteThanks for the tutorial!
Esther
esthersipatchandquilt at yahoo dot com
ipatchandquilt dot wordpress dot com