Friday 29 November 2013
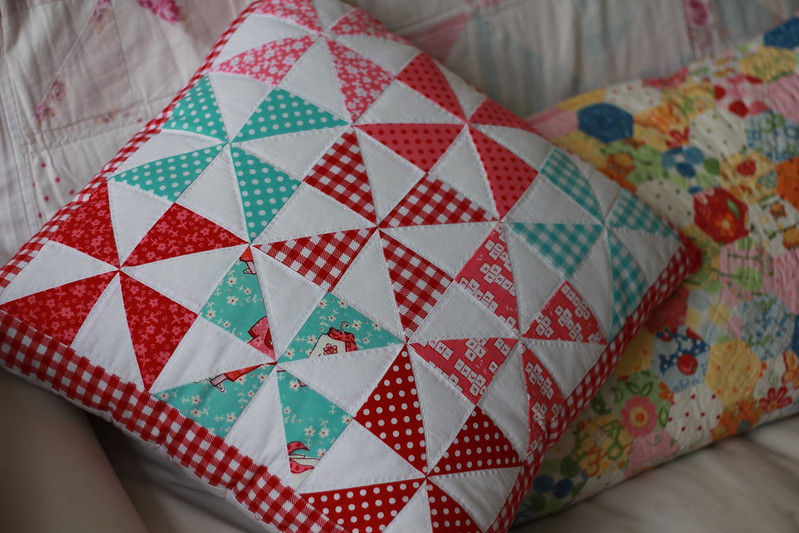
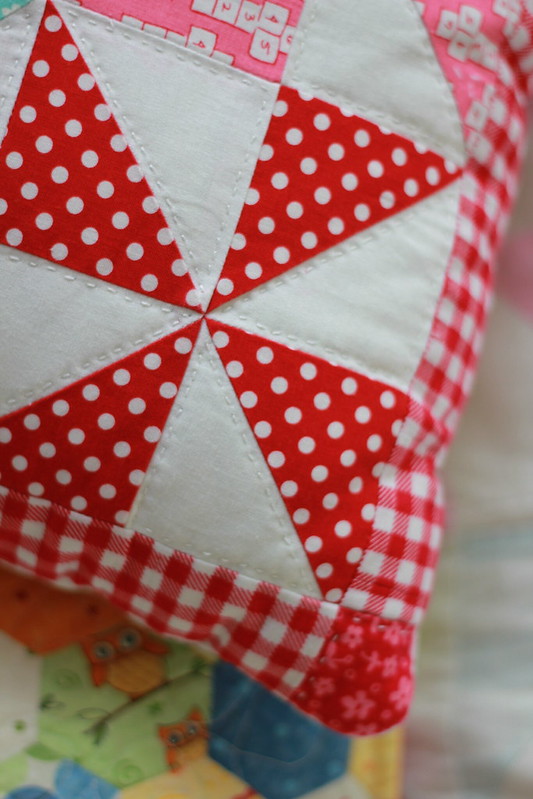
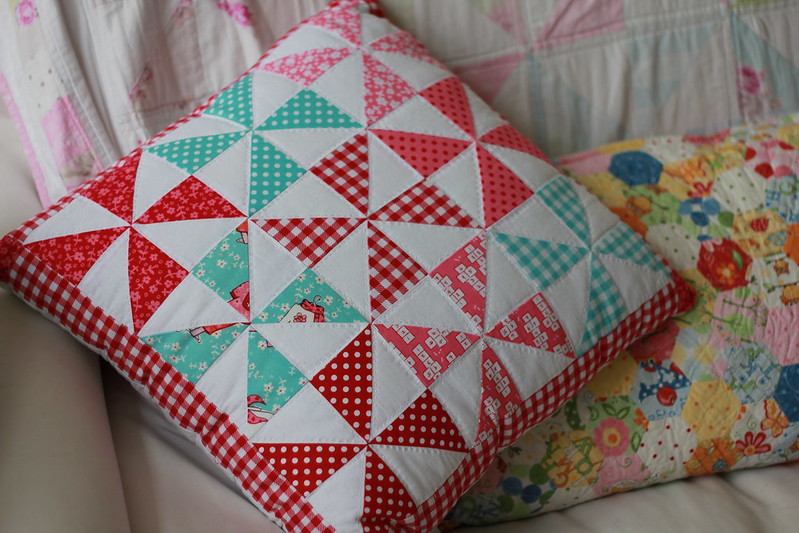
Pinwheels Cushion

I realised I never showed you this cushion I finished.
 I started it a long time ago here.
It looked like this.
I hand quilted on the snow triangles with cream embroidery thread and on the pale pink triangles I quilted in pink thread.  Each pinwheel is 6" so I started each one with two coloured squares of 4" and two cream or pale pink squares of 4".
I made an envelope closure for the back and I find it never gives a very square cushion!  I am not too keen on them and I think a zip is far better, but you have to have one when you need it which I rarely do.  The back is just plain cream fabric, upholstery weight.
I love pinwheels!

Friday 22 November 2013

Pillow Talk

I finished my pillow or cushion or whatever you want to call it.  It is double sided.
I am SO pleased with this one.  I love the colours and the white.  I have hand quilted both sides.
On the round and round side it is mostly machine quilted but I hand quilted a heart on it.

I hand quilted around the white triangles.  It does take longer but with a little project like this it is doable and worth it.
I also hand quilted on the corner stones.
I am so pleased with it and think it is one of the best things I have made.  I love the pinwheel side.  I want to do more sewing with bright colours.  The cushion cover has a zip closure which I like as I think it gives a more square cushion compared to an envelope back.  At least it does compared to my envelope backs!

Friday 15 November 2013
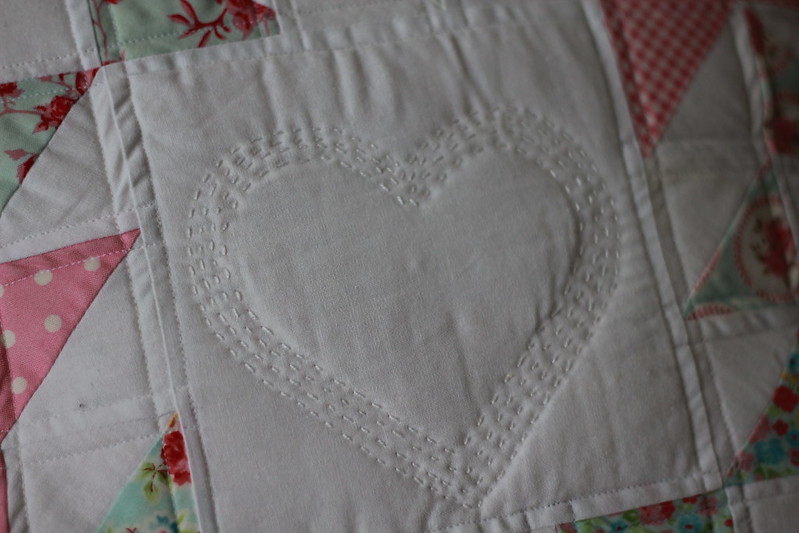
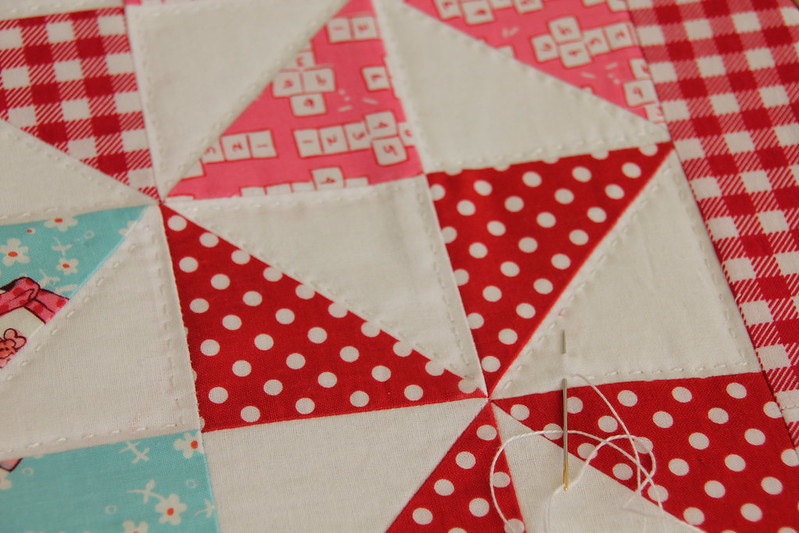
The other side...

Of the cushion!
I have been working on it this week. As I am doing hand quilting it is taking a little longer, but I will have it down soon.
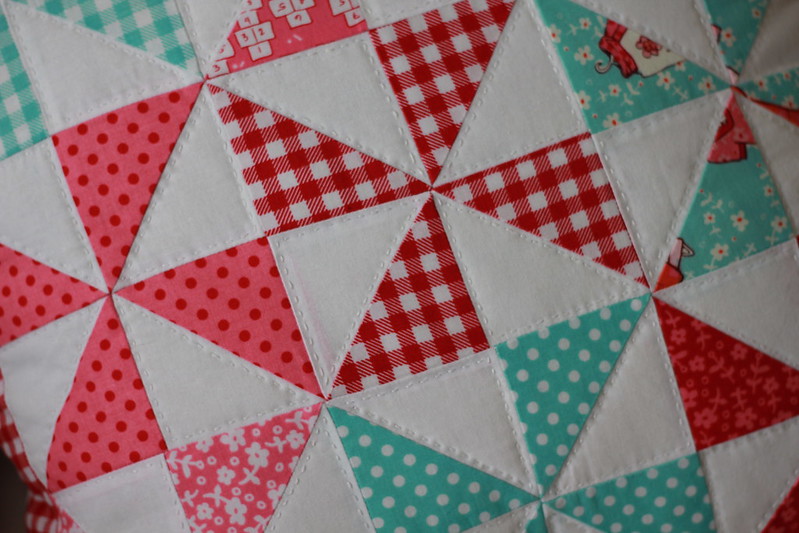
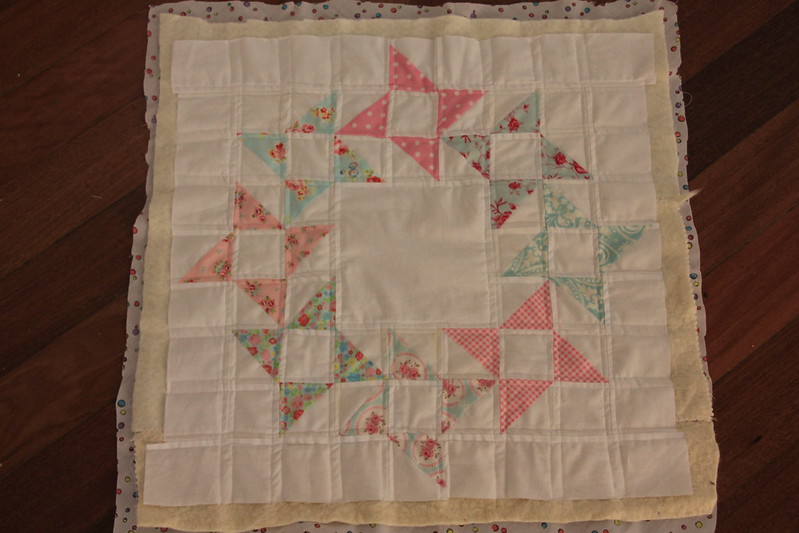
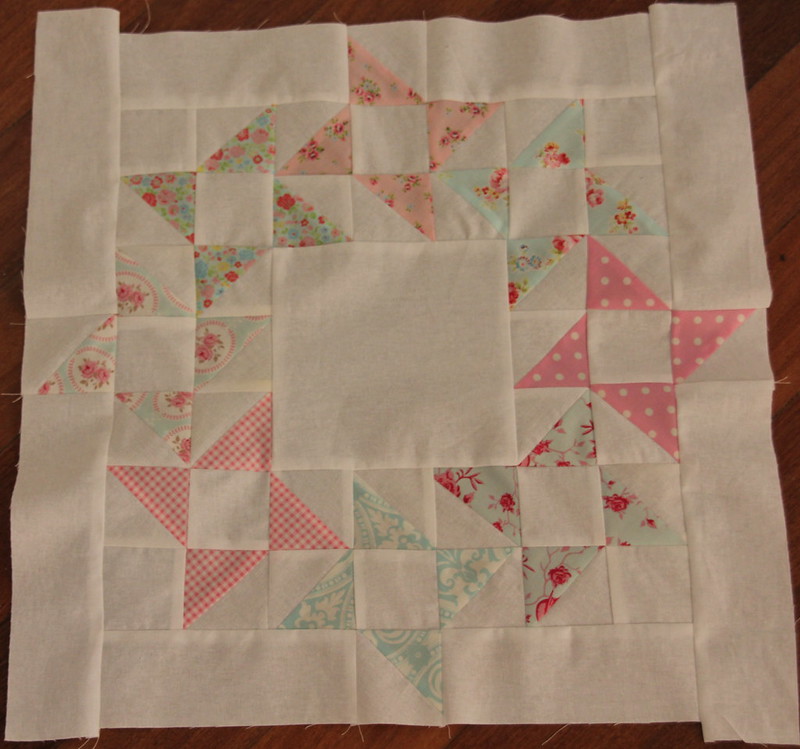
I LOVE this little block!

Before you say it - it is a total rip off, imitation is the highest form of flattery, of Amy Smart at Diary of a Quilter here.
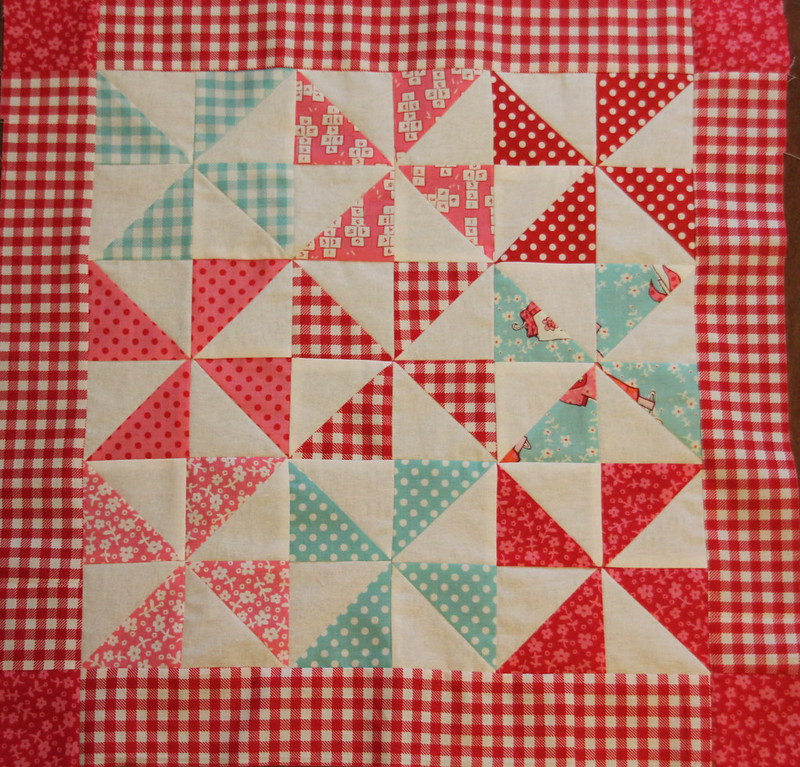
I think my border is going to be a little thicker and the corner stones are different.  The fabric is Sarah Jane, Children at Play.


Even my hand quilting is the same as Amy's!  Do I have a mind of my own?????
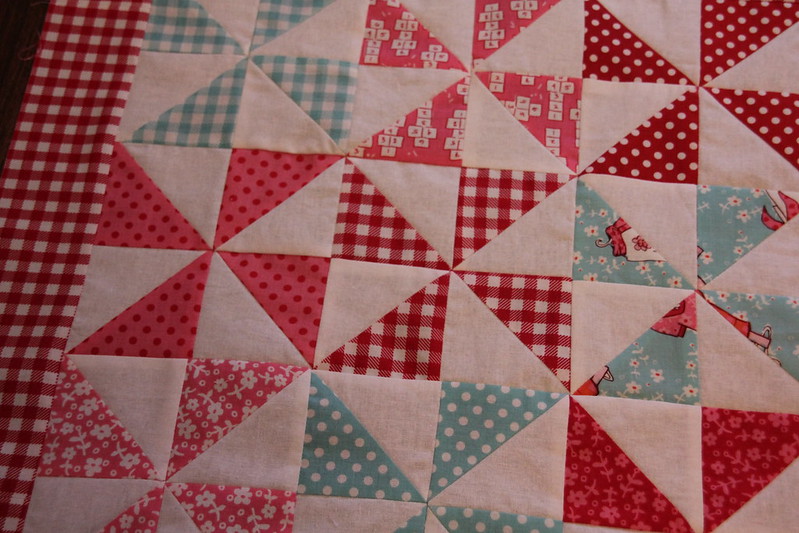
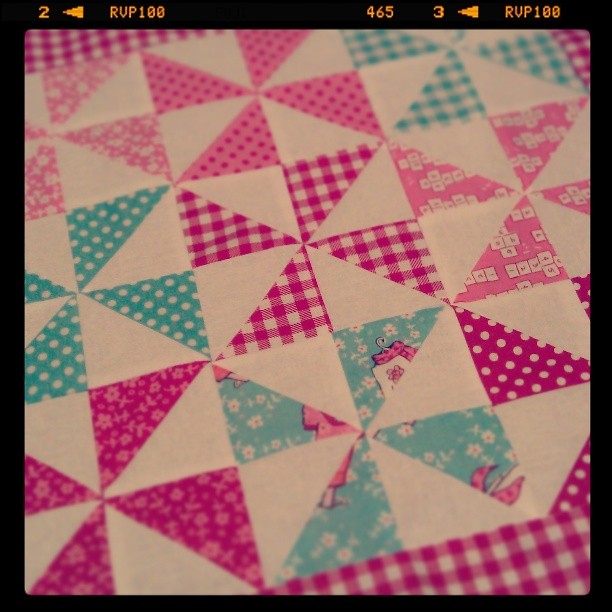
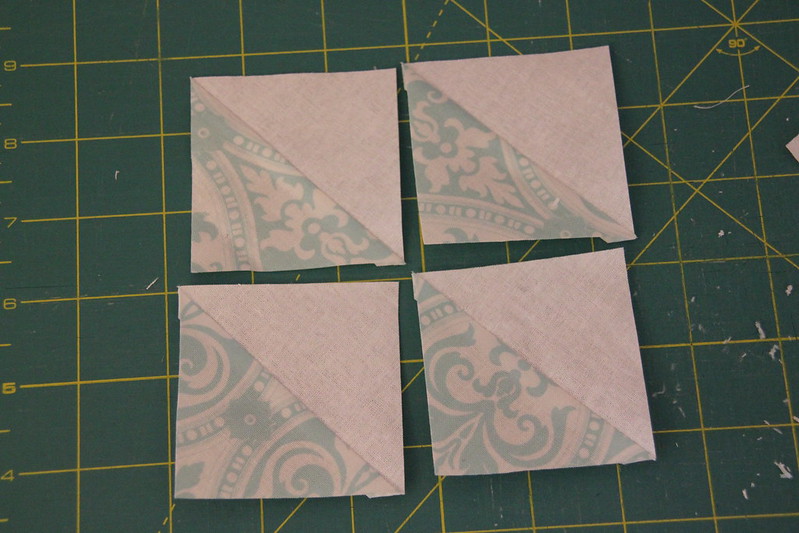
I just adore pinwheels and I am pretty pleased with my points and the joining up of these.
The pinwheels are 5" finished and I started with two white squares and two coloured squares. The squares were 3.5" square and I cut them down after sewing them to the correct size.
Next week - a finished cushion!

Friday 8 November 2013

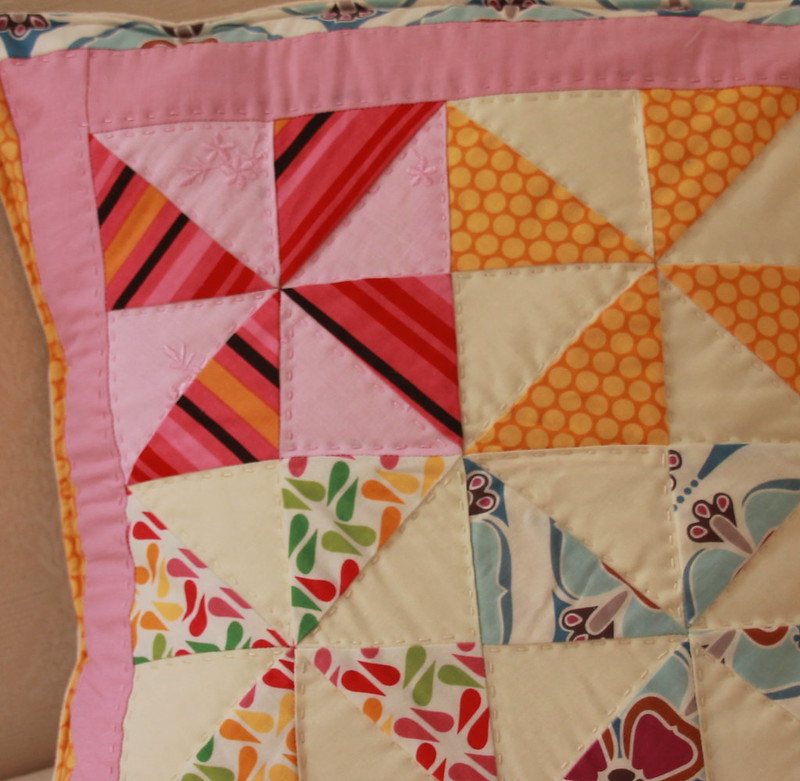
Mini Quilt or Cushion Cover?

I started making a mini quilt but I may make it one side of  a cushion.  I think I saw the design on instagram but I cannot remember who it was by.  It was like this.

I quilted it 0.25" from most of the seams but I also want to do some hand quilting in the centre.
To make a finished block 18" x 18" you need:

8 coloured squares 4.25" x 4.25"
8 white squares 4.25" x 4.25"
12 white squares 2.5" x 2.5"
1  white square 6.5"
4 white strips 2.5" x 8.5"
4 white strips 2.5" x 6.5"
Here are some of the pieces before I started.
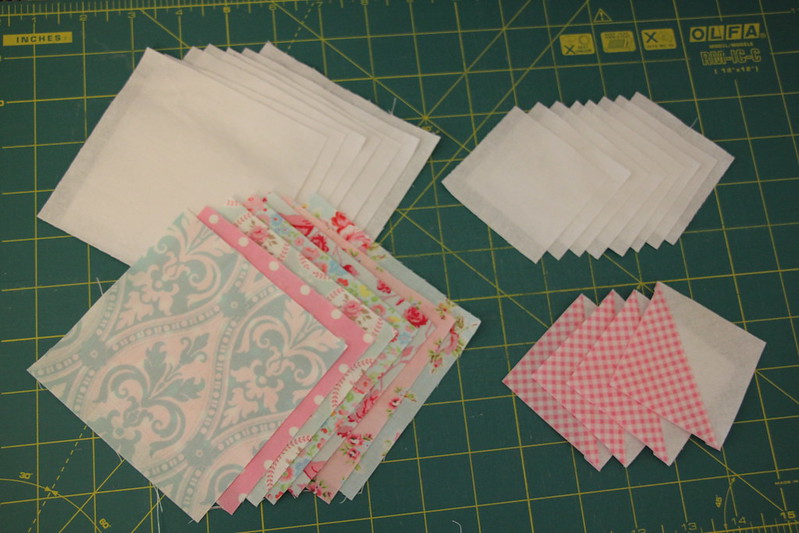
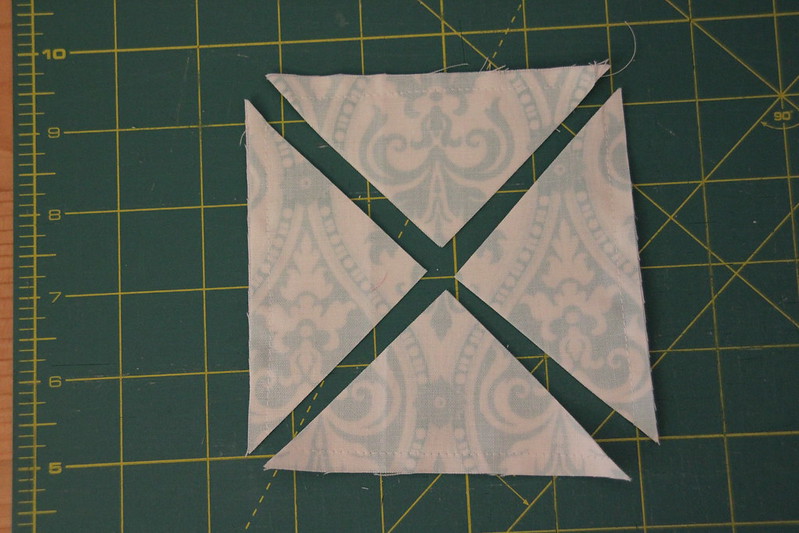
To make the half square triangles there are a couple of different ways.
One way is to take two of the 4.25" x 4.25" squares, one white, one coloured and lay them right sides together.
Sew around all 4 sides 0.25" from the egde.  Then cut through the centre corner to corner twice as shown below.
 The difference between this method and the more usual method of taking two squares right sides together and drawing a line from one corner to the other and then sewing 0.25" from this line on both sides of it and cutting down the line is, that the bias angles will be different.  In the method I show here, the stretch will be along the sides of the square and least from corner to corner.  Using the method of sewing corner to corner you get the stretch from corner to corner of your half square triangle.  Which is easier and stretches the least I don't know.
Then trim them to 2.5" x 2.5".
Once you have your 8 sets of four half square triangles you can lay out your design and sew it together.
and quilted.
I really like it and once it is made into something I will take some better photos.  I think I will make a pillow out of it and piece the other side as well.
I really must try some other design of quilting someday!
Happy Friday! xxxxx
Edit - I have since found out thanks to the comments below that this design is Round and Round from Thimble Blossoms by Camille Roskelley

Thursday 7 November 2013

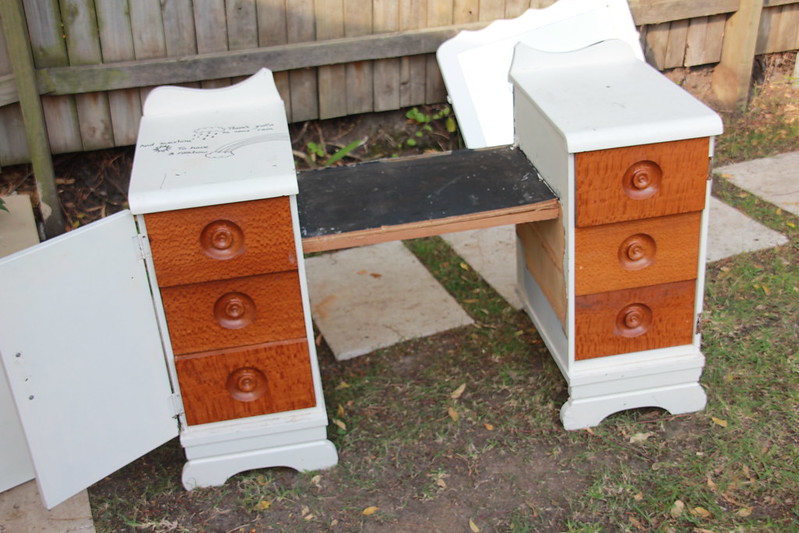
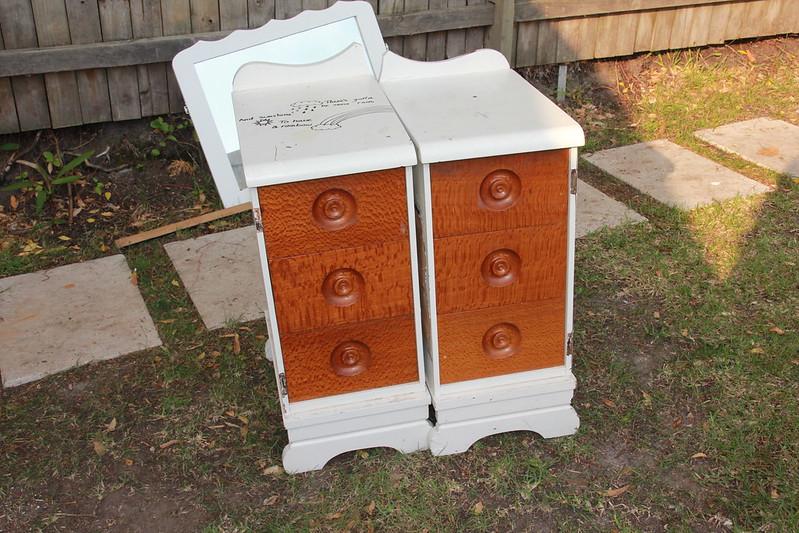
Repurposing to make Bedside Tables

I have been looking for bedside tables for quite a long time.  I want some really beautifully made, sturdy, all wood ones, but I don't want to pay much for them.  Is this the story of your life too?  This means waiting for the right thing to come along, but makes it so satisfying when it does.
I saw on Kirstie's Vintage Home (channel 4 on UK TV) with Kirstie Allsopp an idea that really caught my imagination.  They gave hardly any details about it but showed a quick before and after making two bedside tables from one vintage dressing table.  Every now and then, when I remembered I looked on ebay for an old dressing table but although they were on there, they were very often $250 or more.  Totally unacceptable prices obviously.  Finally one came up on freecycle and I grabbed it!
It was written on and had chalk board paint on it but it was free!  I was going to paint it anyway.
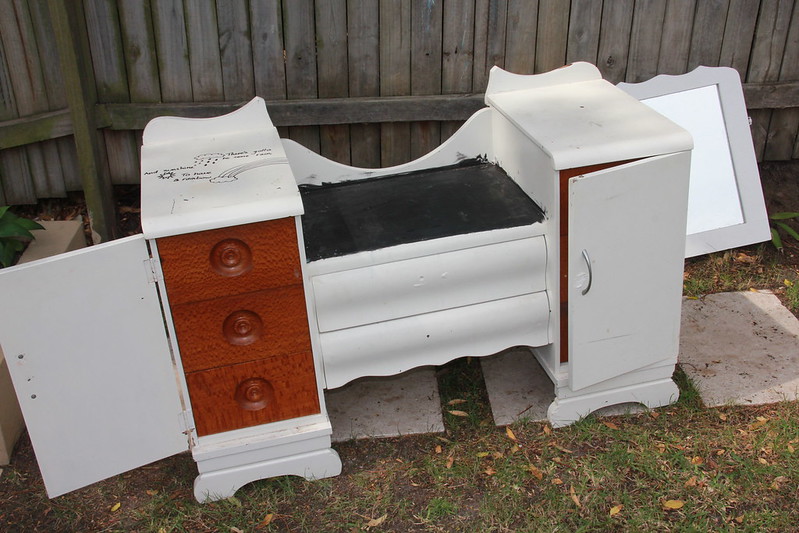
The mirror came with it but wasn't attached.  I don't see how it would be attached but I will use it for something else.
I took the two middle drawers away and got the runners off and was left with this:
I also took the cupboard doors off.  I wasn't going to need these.  The drawers are set about 10mm back and so I will put a piece of wood behind them so they close flush to the sides of the cabinets. 
You can see how the drawers go in too far above.  By the way, the dressing table is all made from plywood except the actual drawers, so it is not the solid wood I would ideally have liked. I still think it is cute though. 
Finally there was one piece of wood left which ran throught he back of both sets of drawers, so this had to be cut.
I only used two tools to do it all.  One was the claw hammer shown - such a useful tool.  The other was a saw.
And finally I have two bedside tables.  They still need some work.  They need a 4th leg as otherwise they will fall over, or at least be very, VERY unstable.  The drawers need to be made not to go back so far, and they need sanding, filling and painting.  Those horrible brown drawers will not be brown forever.  I will show you when I have finished!  Bye!