Wednesday 20 February 2013
Tutorial - Paint Chips Art
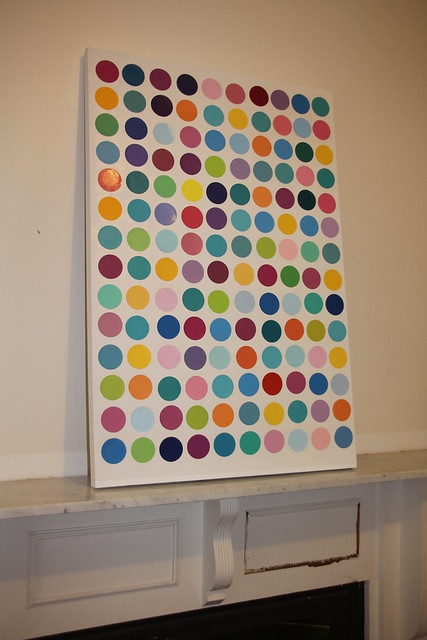
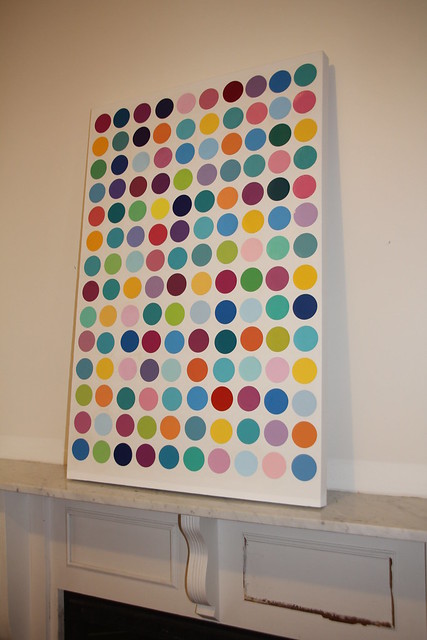
I call it Dottie! I haven't finished the fireplace yet but just keeping it real. I couldn't afford Damien Hurst's painting so decided to make my own.
Here is what you need:
A canvas of whatever size you like, or you could use wood, board - whatever!
A LOT of those paint chips from DIY stores
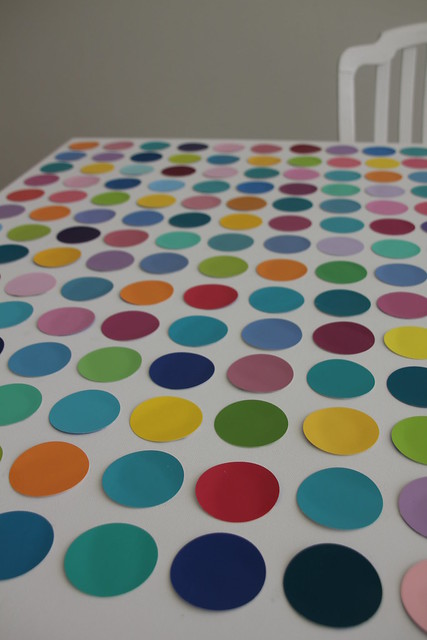
A circle cutter.
Decoupage adhesive
Paint brush/es
optional: spray mount adhesive

I got my canvas at riot art and it was half price, but places like the reject shop and $2 shops are generally cheaper.
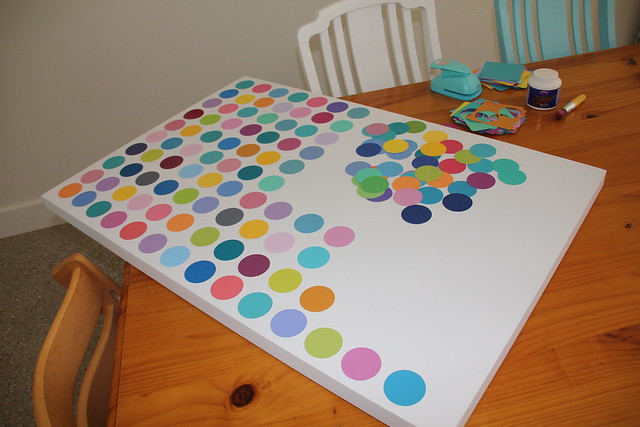
Cut out loads and loads of circles and arrange them as you like. I did random, but it would be really great to have a face in it or something.... If you work out how to do that, let me know.
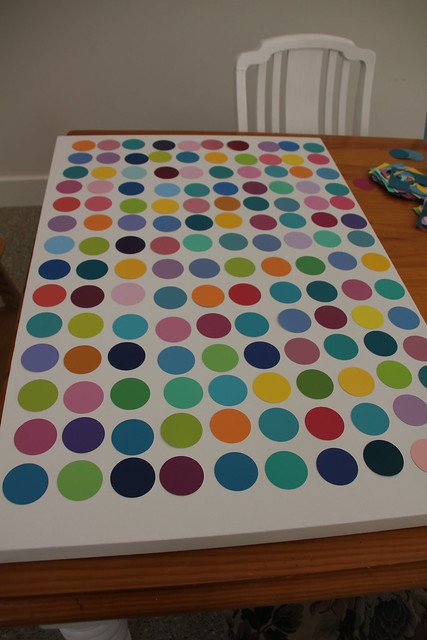
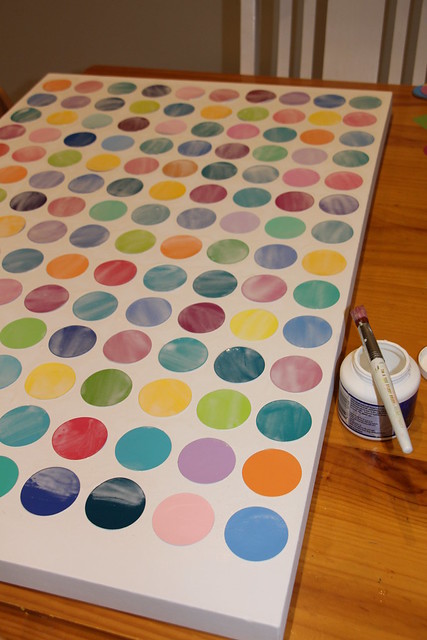
Then I stuck them down with decoupage adhesive using a brush and I applied the adhesive to the circle. Biggest problem you will encounter is that they curl up once they are on the canvas. The less adhesive you put on the circle the less curl you will get due to the amount of water in the adhesive going into the paper. Stick them on anyway and once you have them all on, or any number, first line them up straight, then lie the canvas on a table the other way up and allow to dry. This will flatten them down. If you are worried it will stick to the table put cling film/cling wrap/glad wrap over the circles surface first to stop this. The trick is to not put too much adhesive on so it doesn't come out of the sides. With decoupage you usually do have it all squeezing out of the sides but you might use thinner paper and layer it up which means you don't get the lift. So remember, with the adhesive, less is more!
Another option is use spray mount to put all the circles on, which gives high tack with no water. They stick them all down using this. You get less lift that way.
Once they were glued on before drying I moved them around a little to get them in straight lines. I didn't want to mark the canvas as I thought it would be hard to get marks off later so I did it by eye and also used a large ruler to line them up. The image above shows them wonky before I lined them up!
See above picture where the sides are lifting up. Don't worry you are going to fix this.
Then I added a few coatings of decoupage adhesive. Water based varnish is also good. I would use semigloss or even matte. After a few coats and drying in between it is finished!
Subscribe to:
Post Comments (Atom)
I love this idea for a play room. What size circle punch did you use?
ReplyDeletethanks julie
The punch cuts a 2" circle. Thanks Julie.
DeleteThere are many tools available for applying paint. They all do different jobs. This article will describe a few and discuss where they are best used. Paint Brush Manufacturer
ReplyDelete